The Blog
Summer Barbecue and Potluck Dishes
We LOVE a Good Summer Barbecue with friends and family. Of course, the classic burgers and hot dogs on the grill with some watermelon is good enough for us. However, there are SO many other great options! The easiest way we have found is for the host and/or hostess to be in charge of the grill. Maybe have everyone bring their own thing to grill. Then, have everyone bring a side dish or dessert to share.
Here are some of our FAVORITES for a Summertime Cookout~
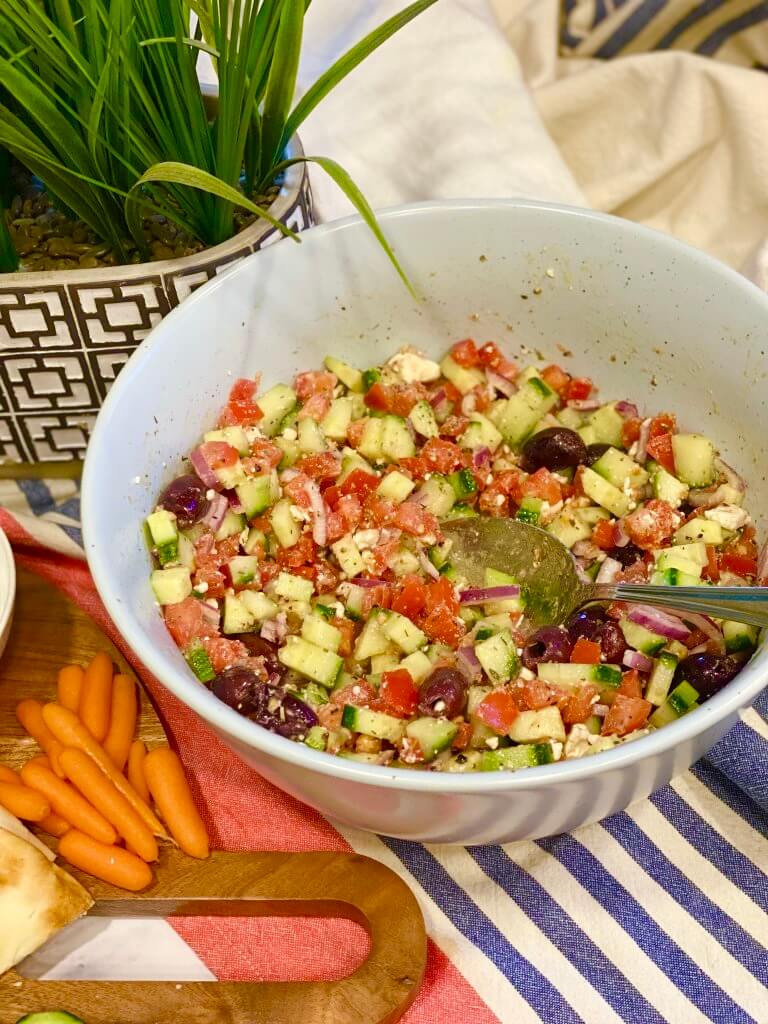
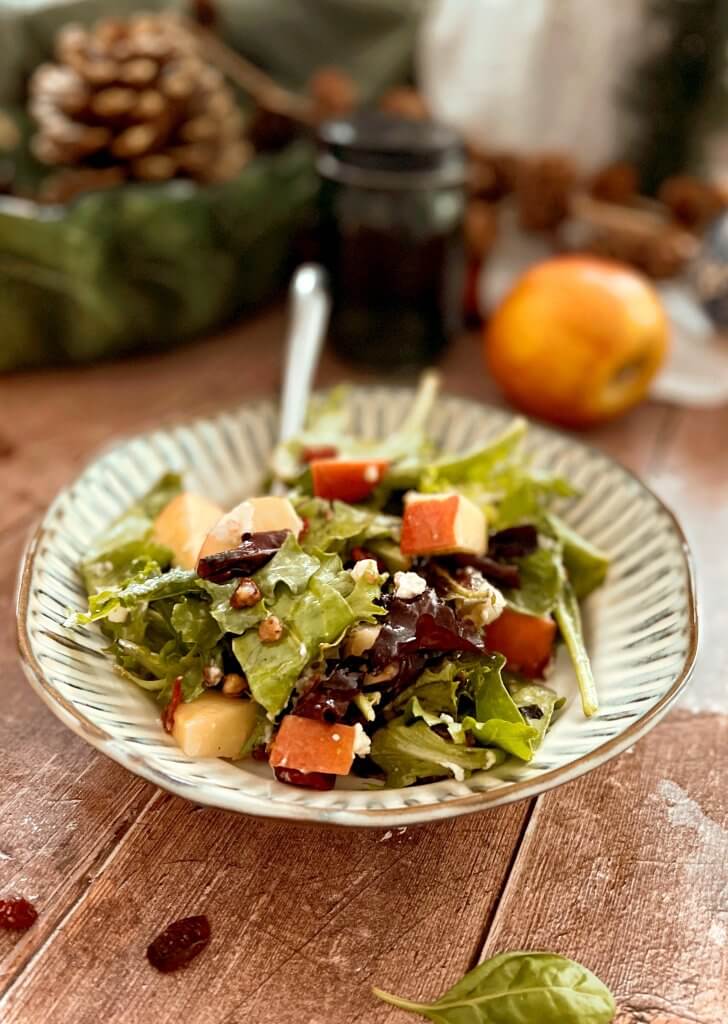
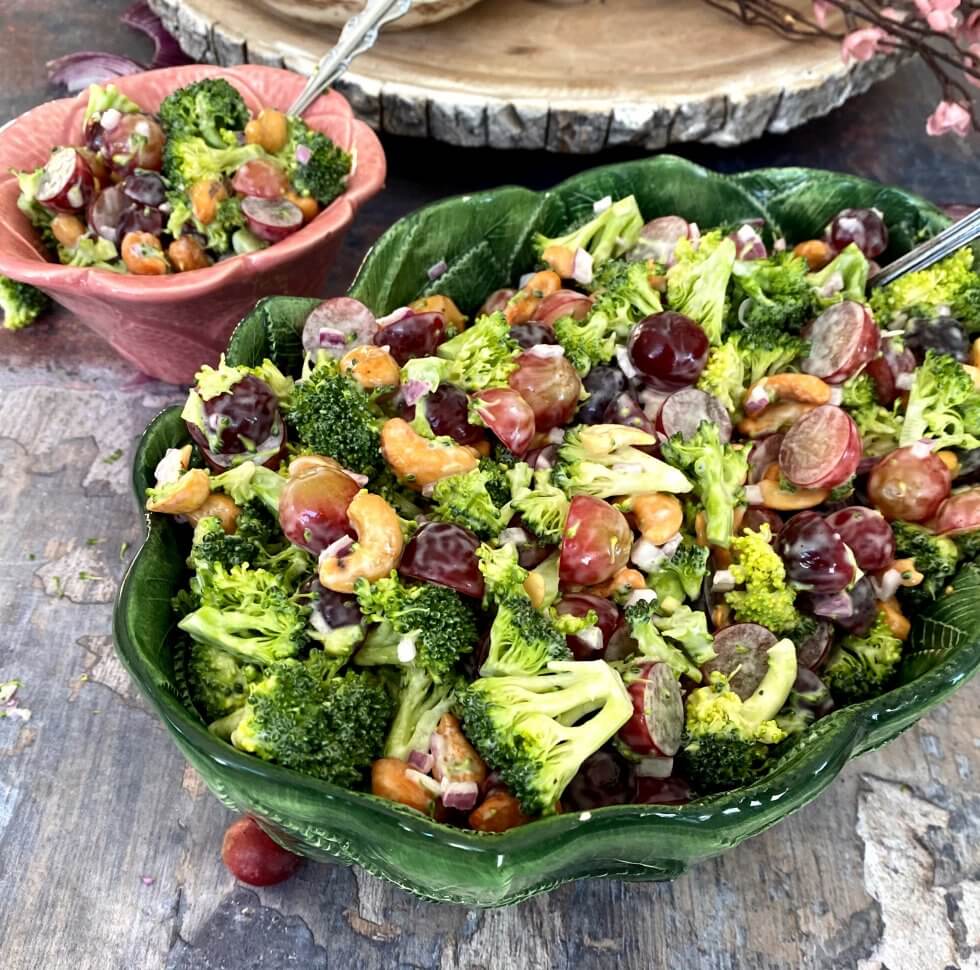
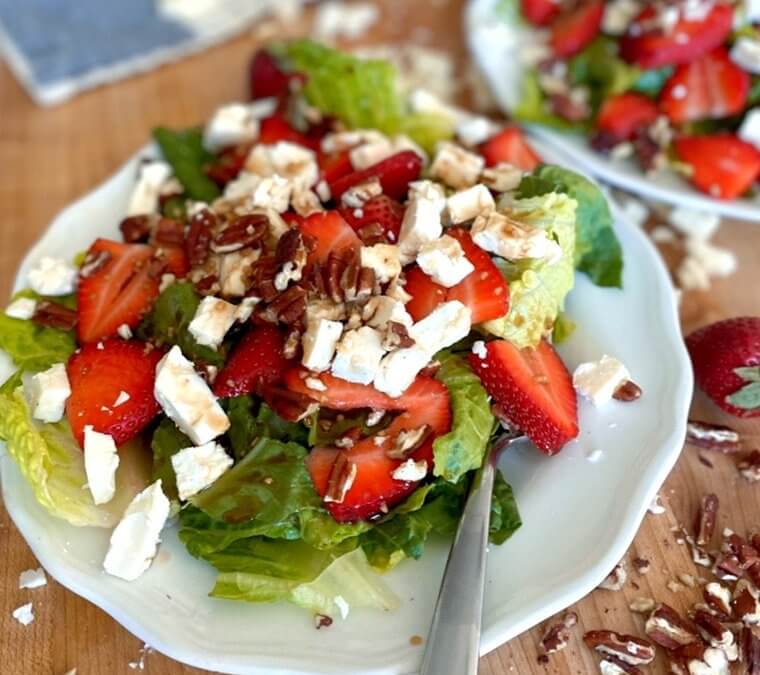
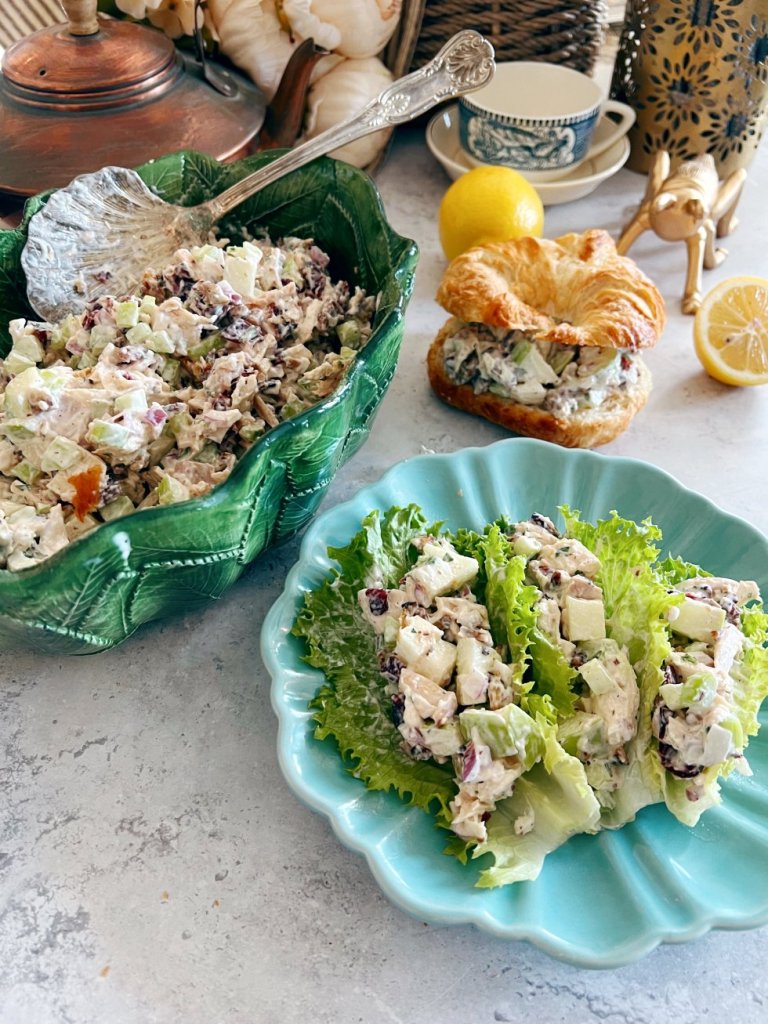
Let’s start with Salads! You can click on the picture or the link below it to go to the recipe.
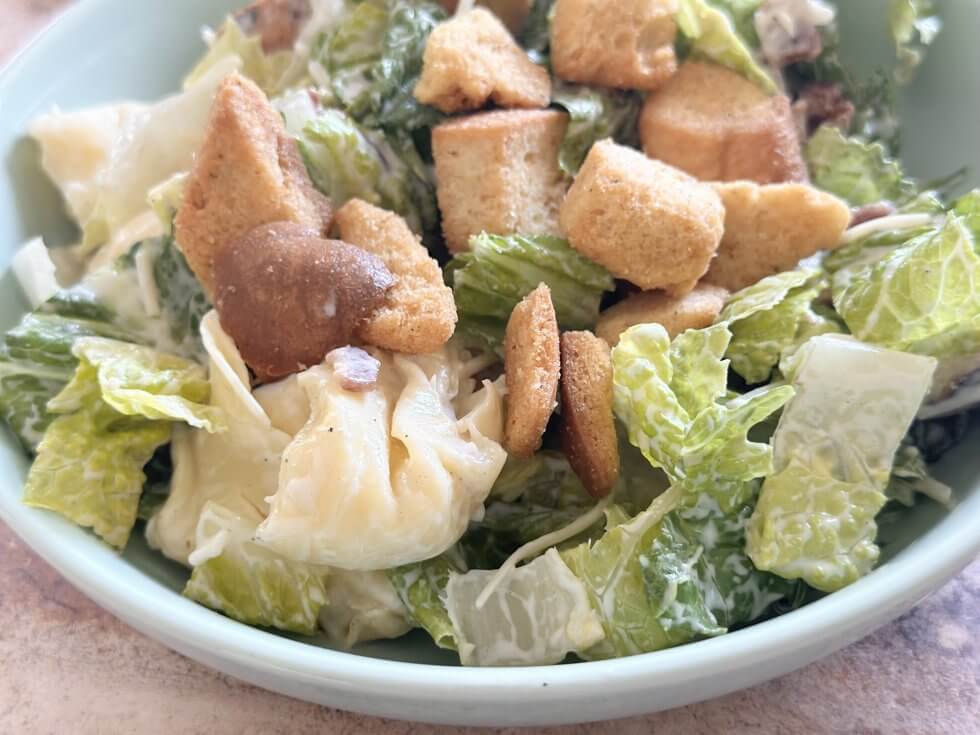
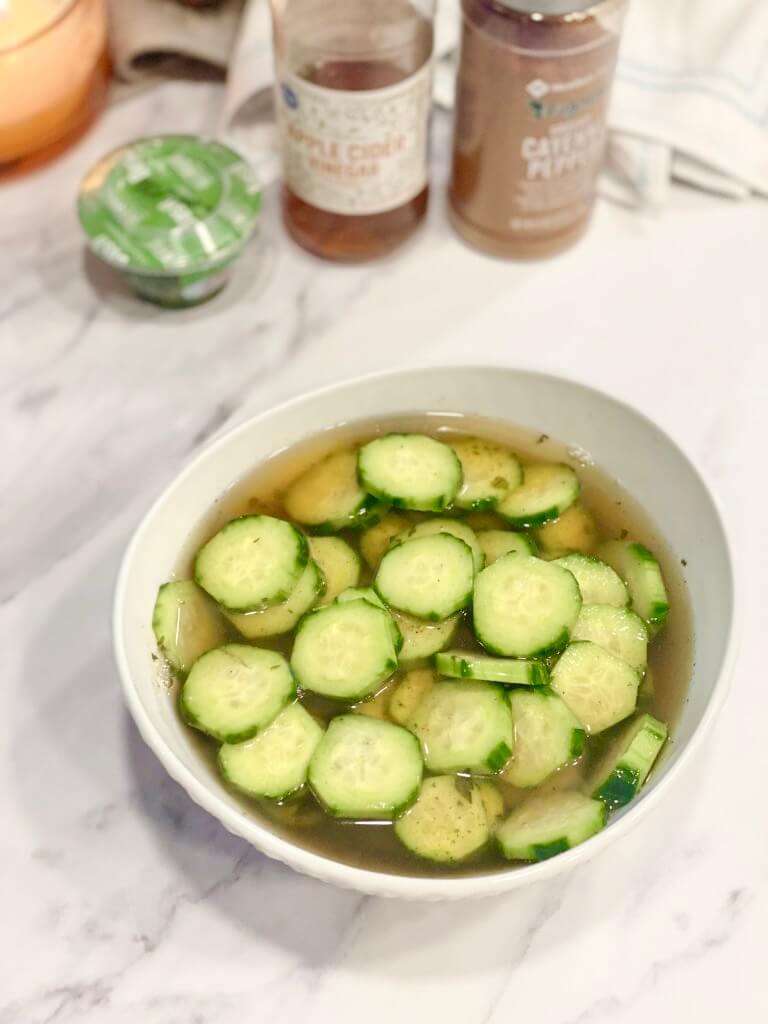
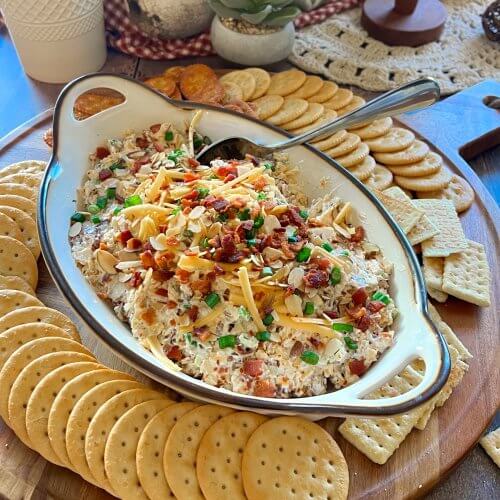
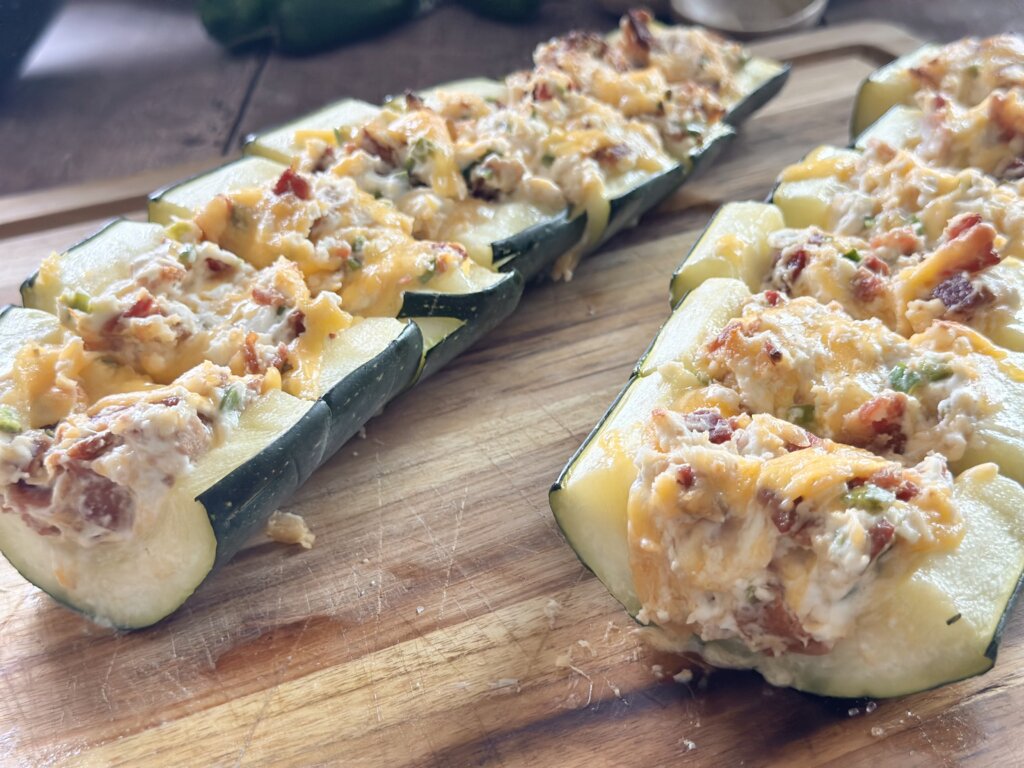
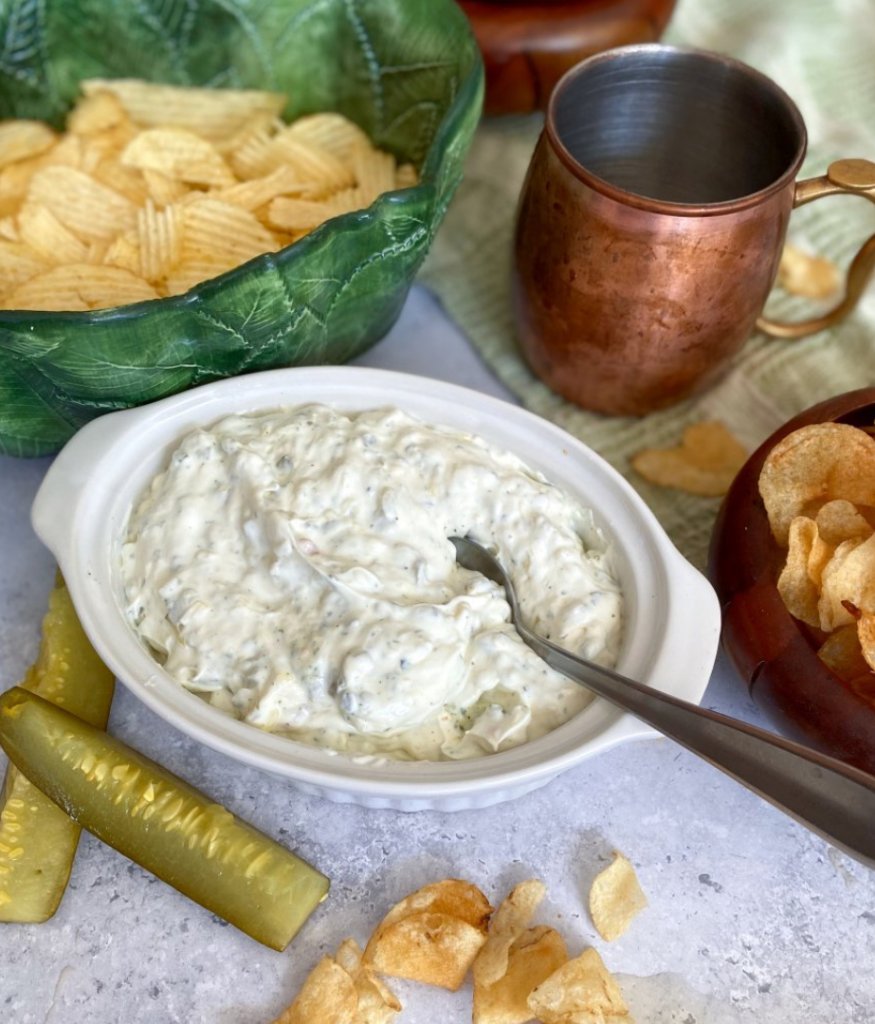
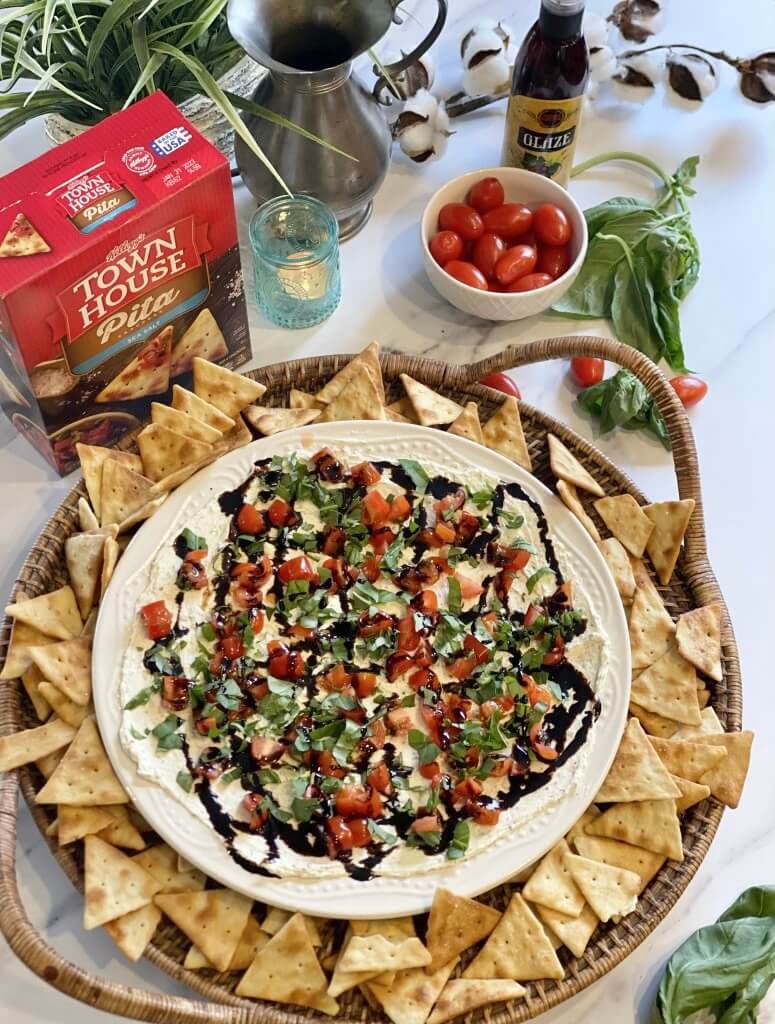
It’s not always about the main dish. Check out these Side Dishes and appetizers. You can click on any picture or the link below it to go straight to the recipe.
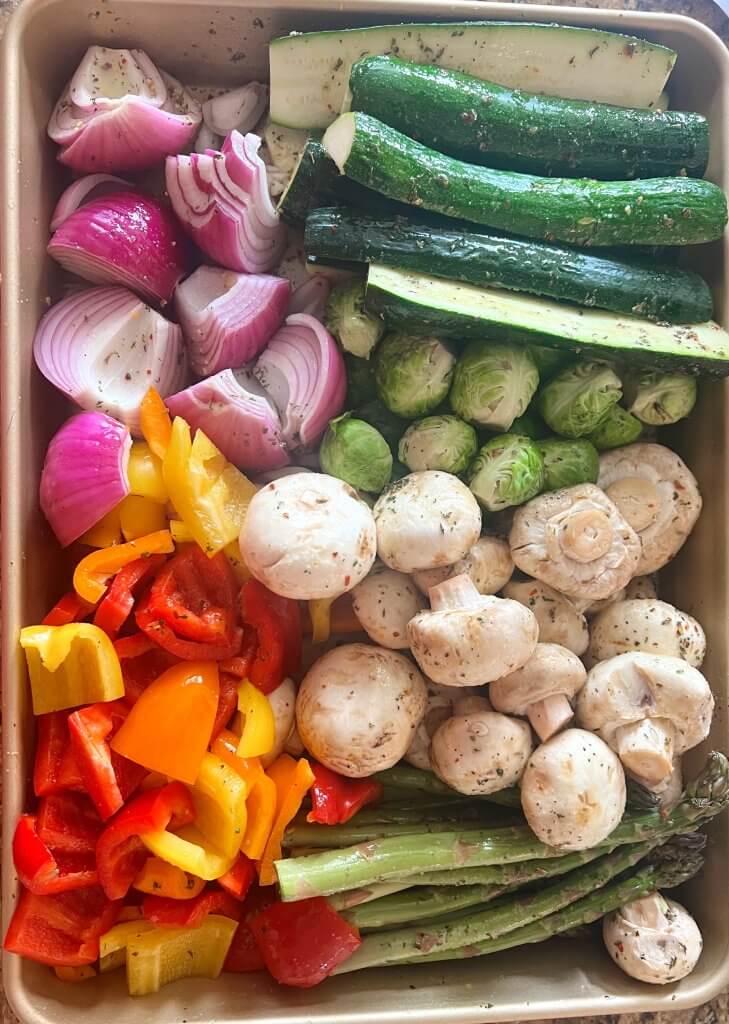
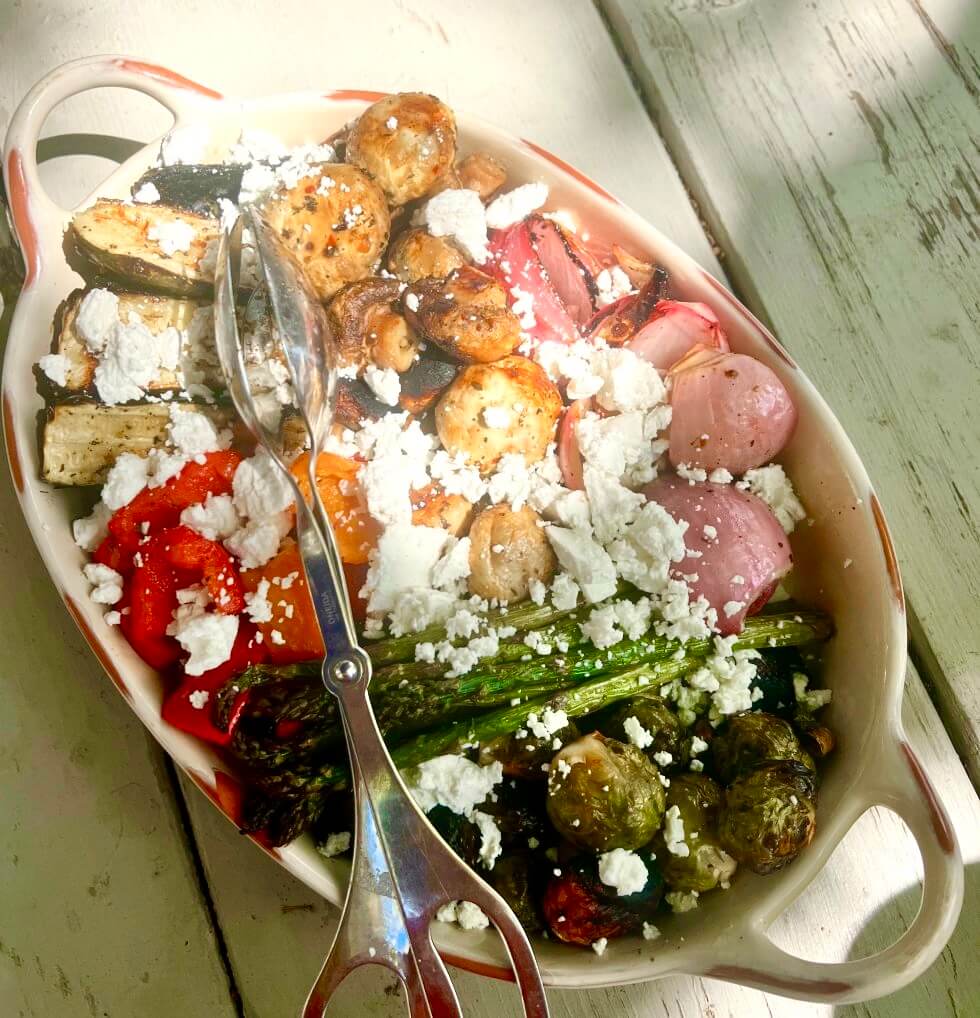
Grilled Veggie Salad with Goat Cheese is different than most “salads” but we LOVE this one!
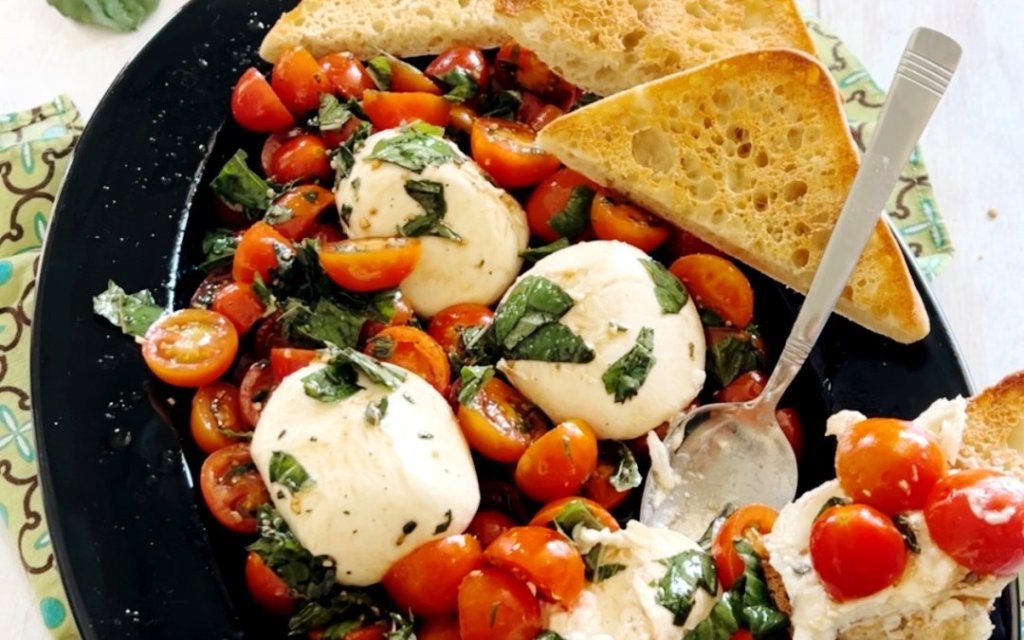
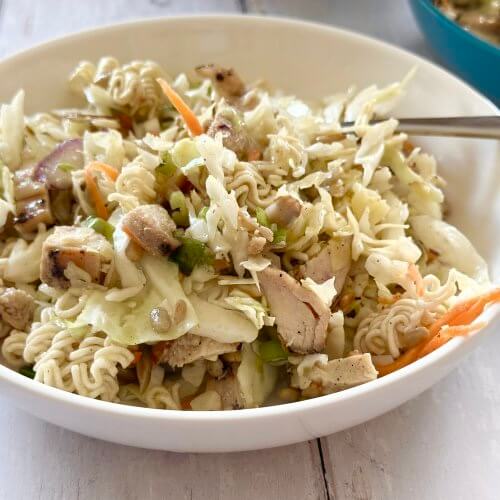
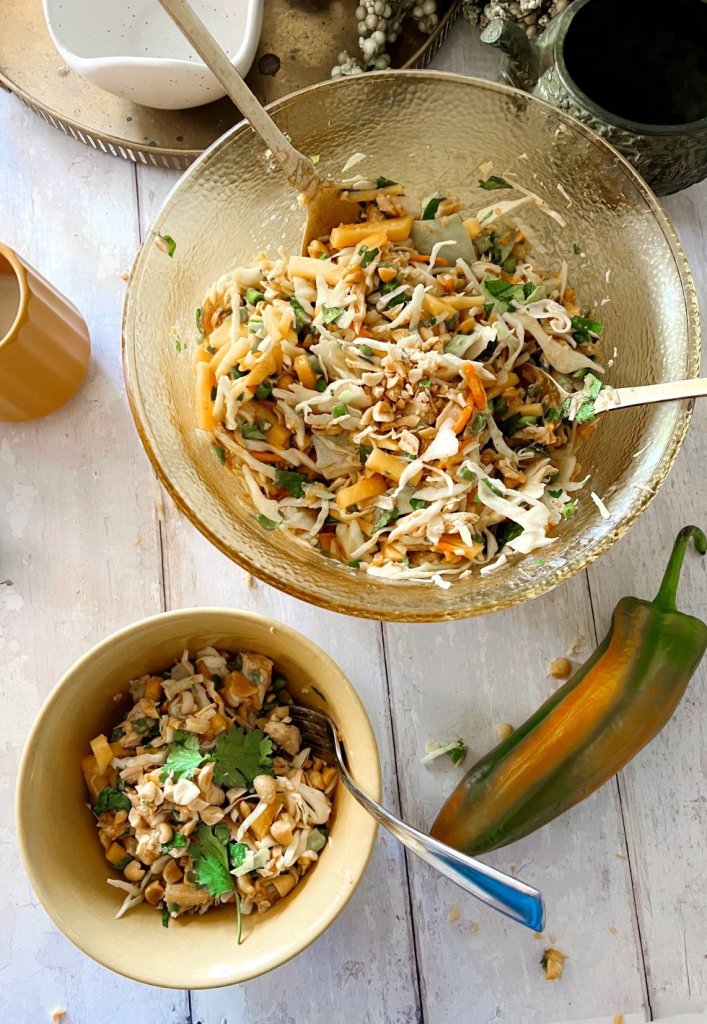
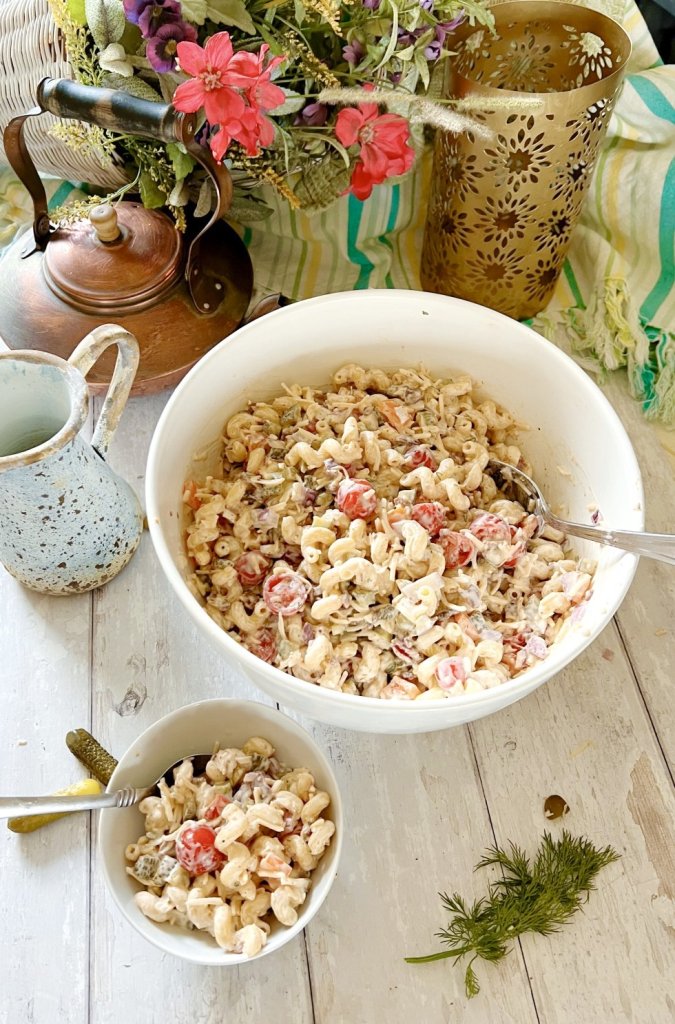
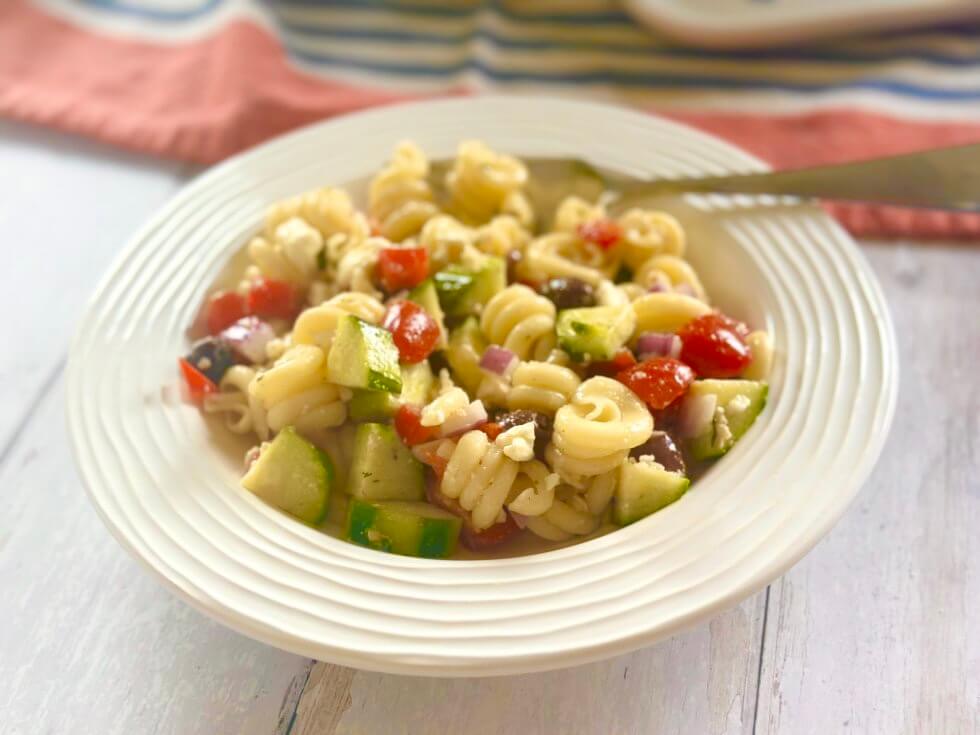
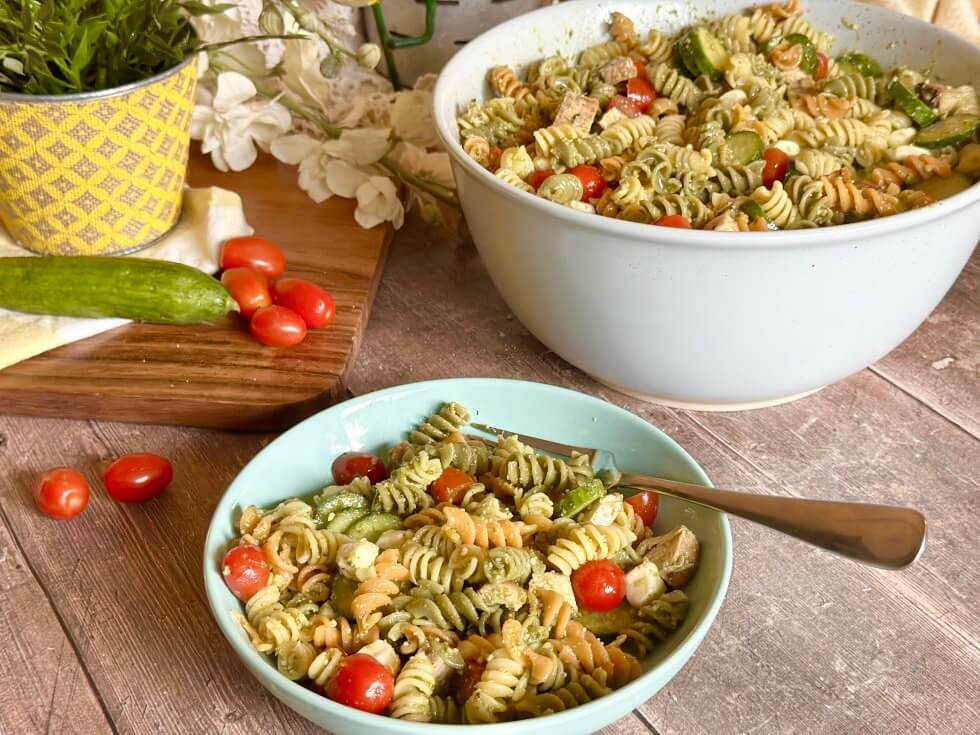
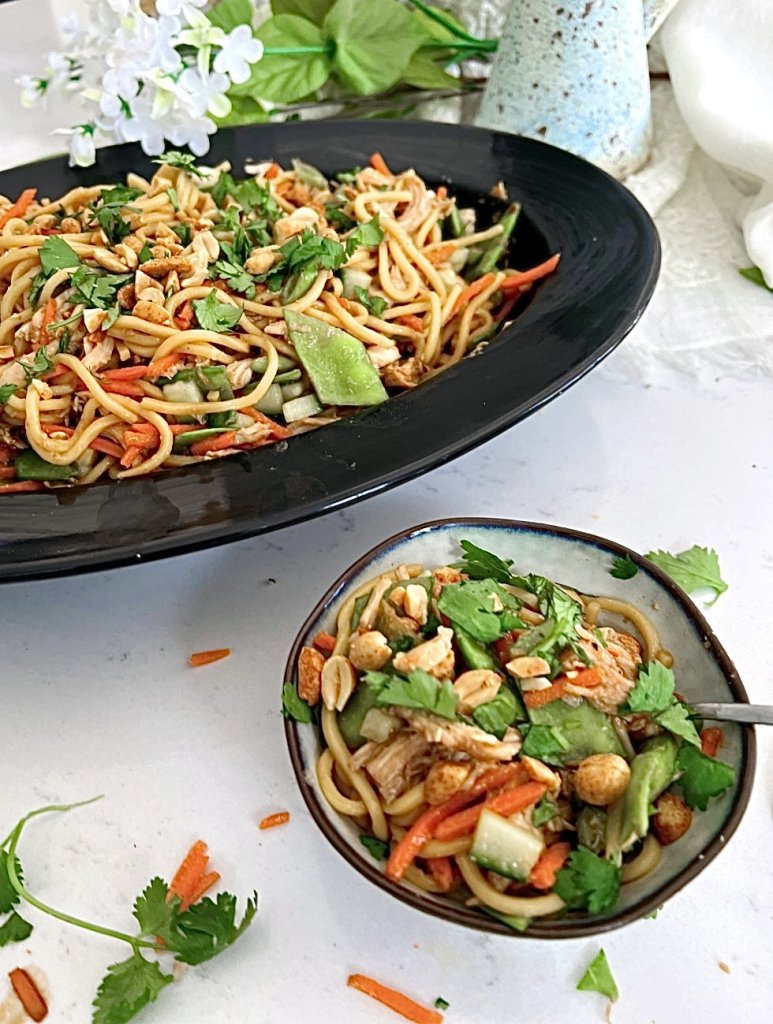
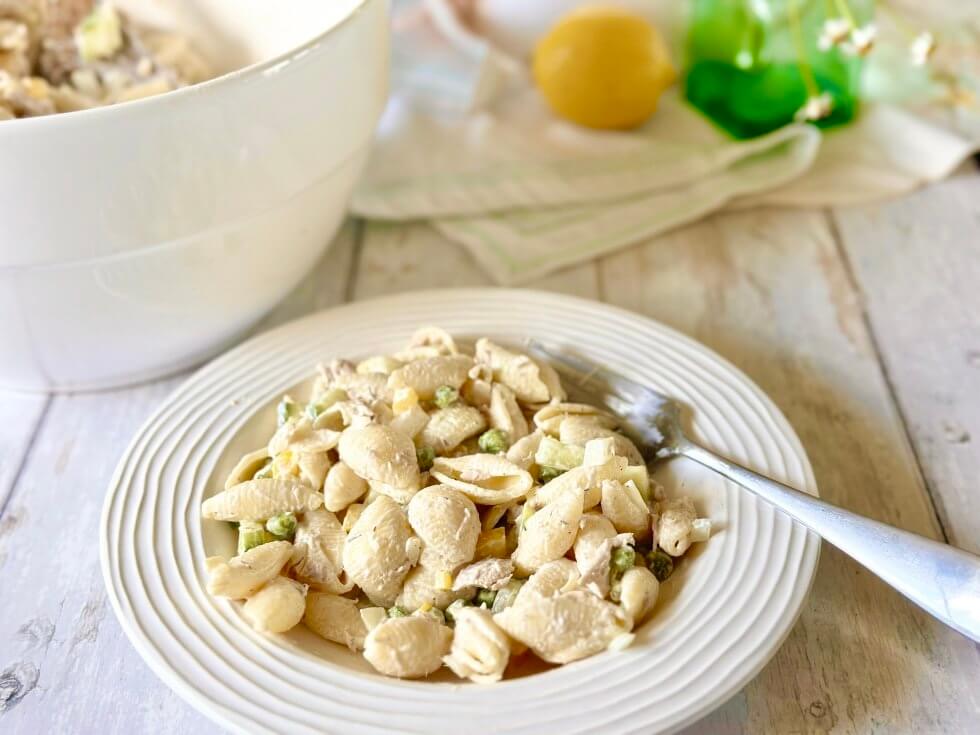
We think we need a separate section just for the best Pasta Salads! Every cookout needs at least one Pasta Salad.
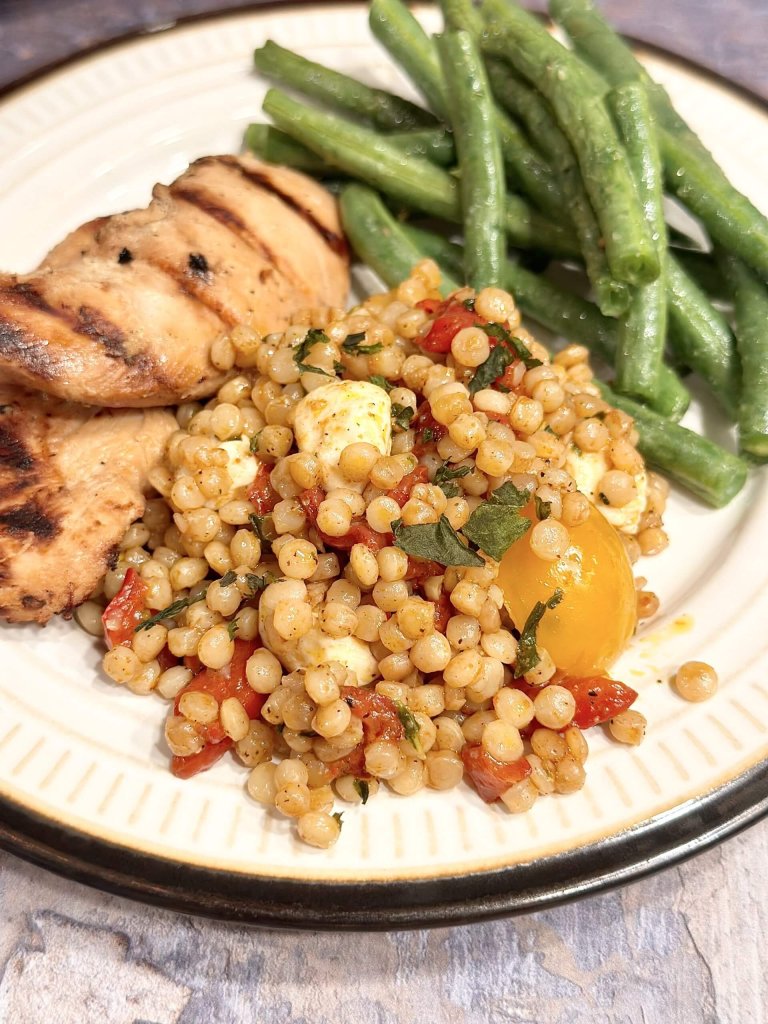
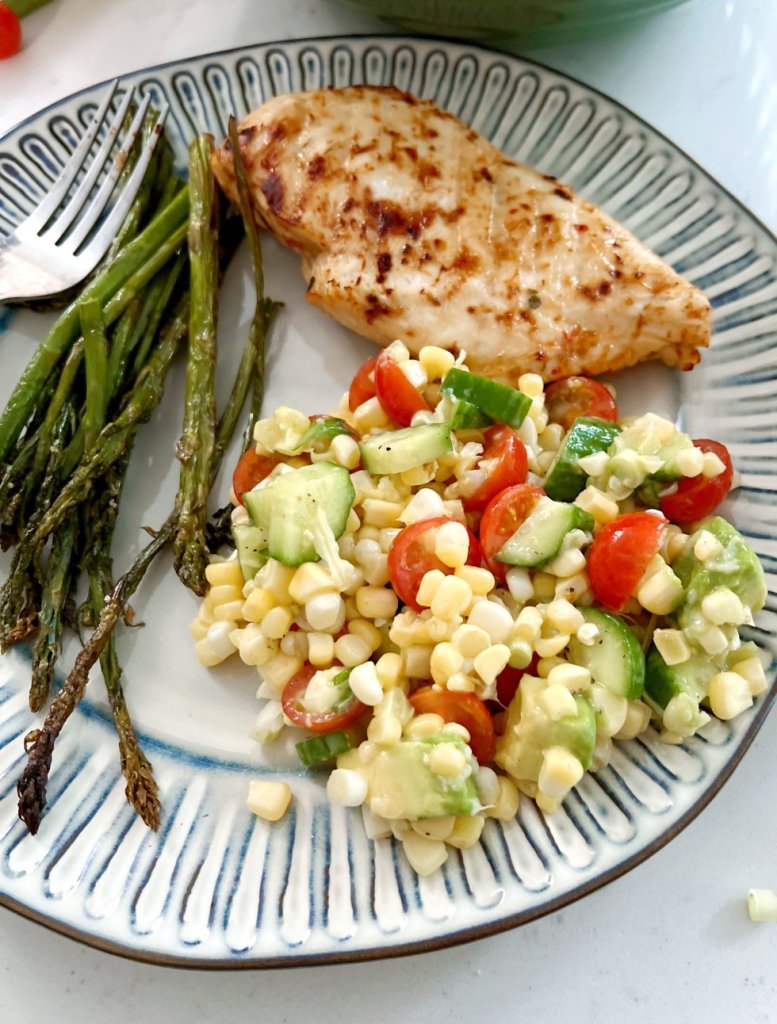
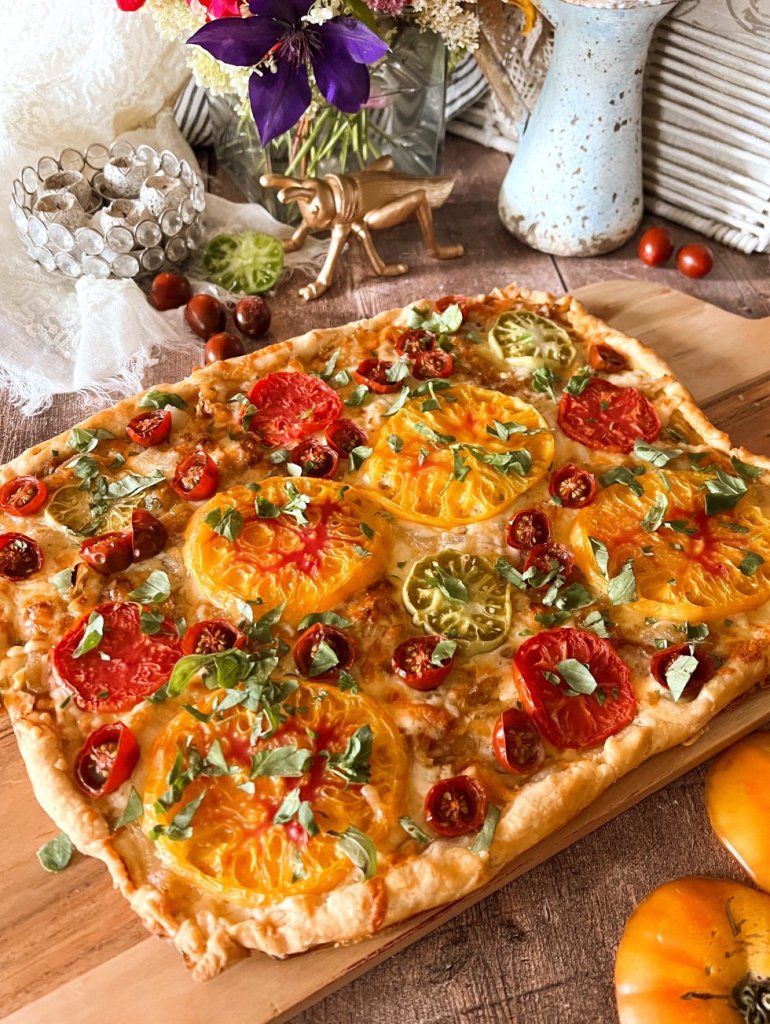
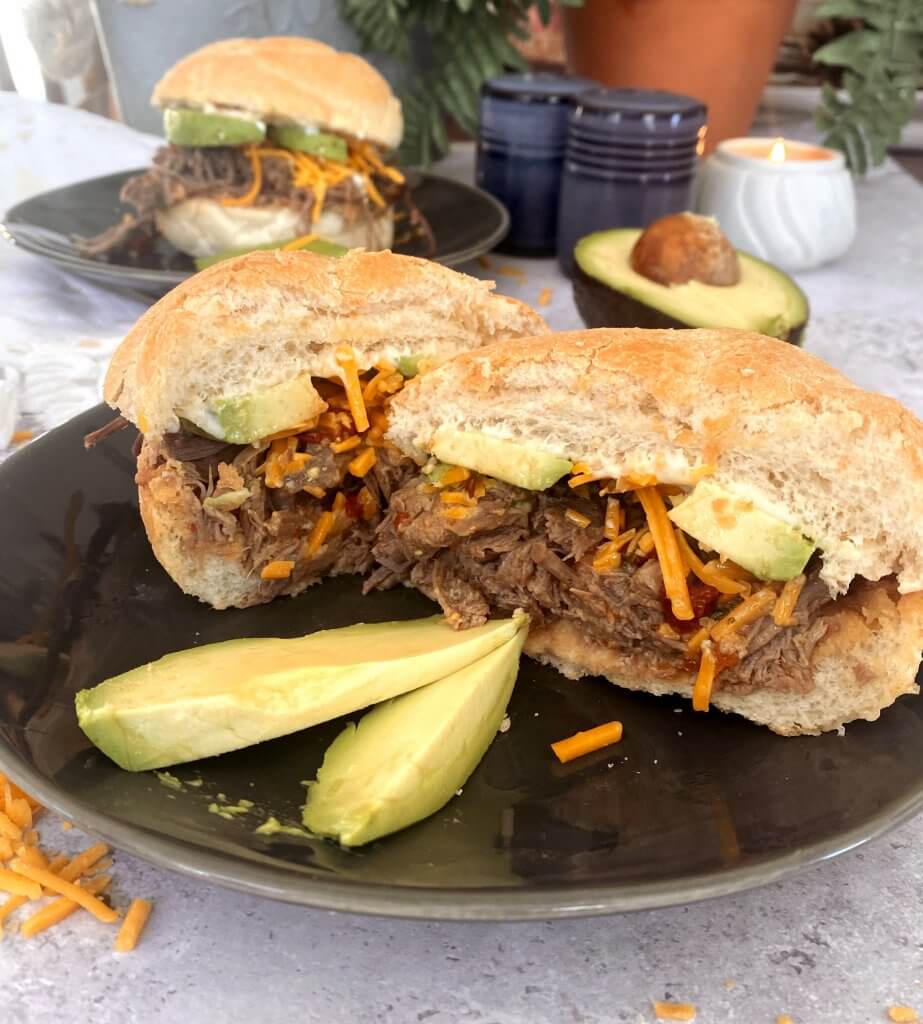
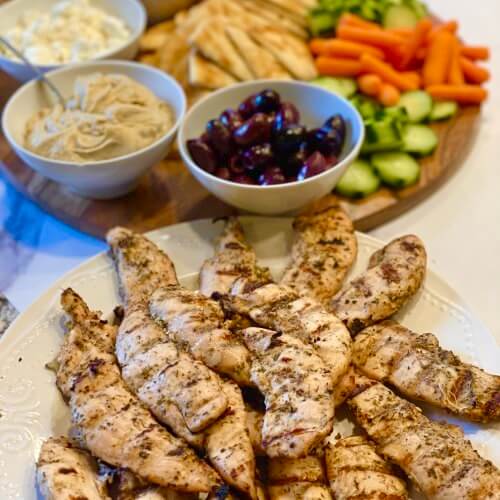
Here are some ideas for the MAIN EVENT (main dishes) if you would like to do something other than just burgers and dogs. Click on the picture or the link below to go straight to the recipe.
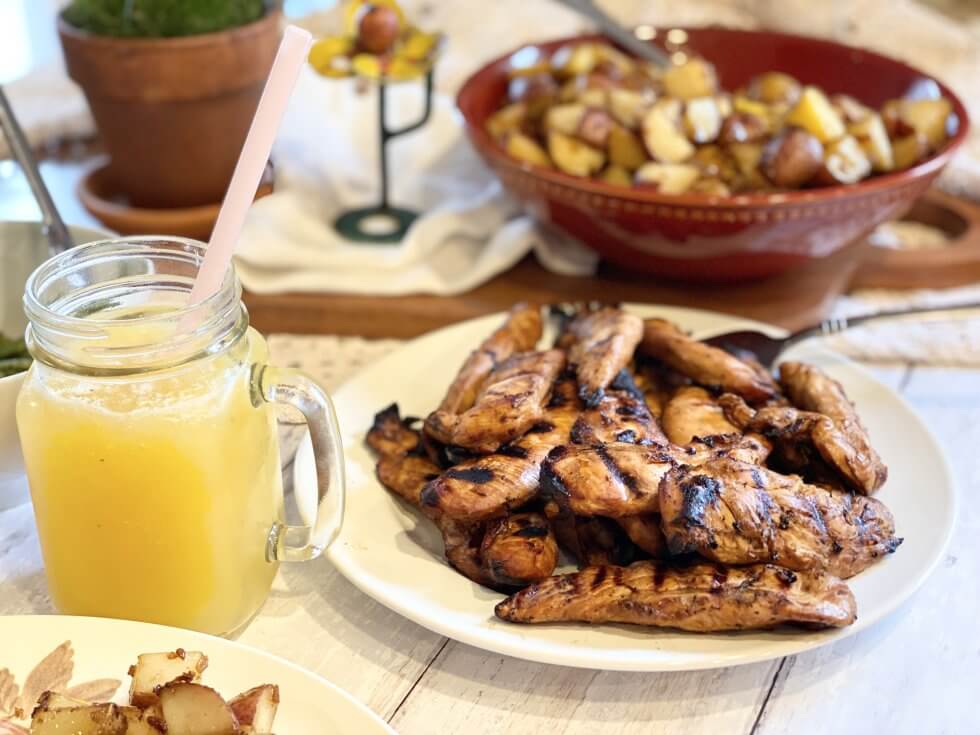
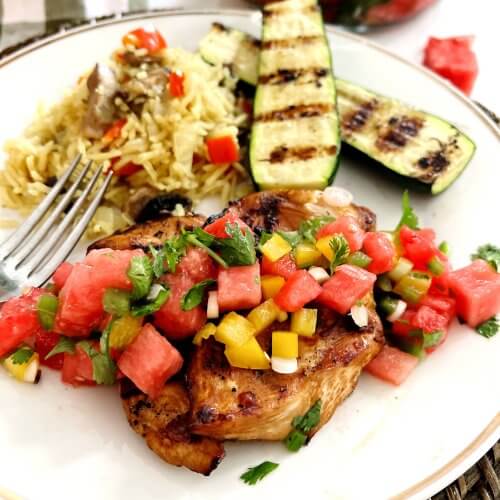
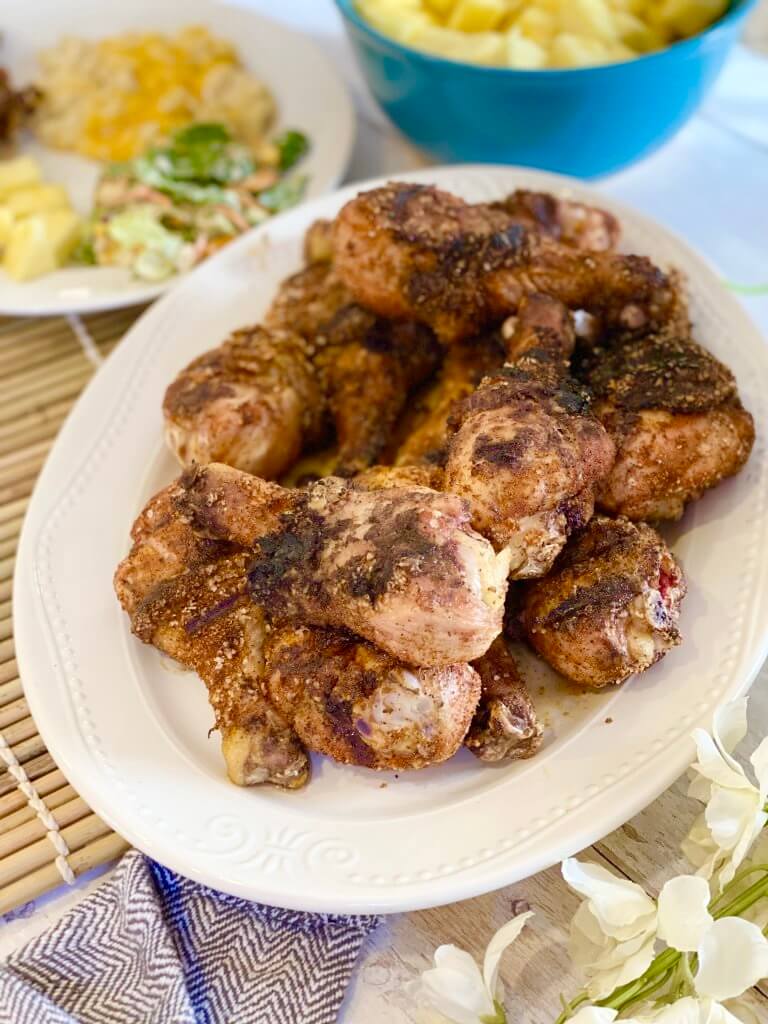
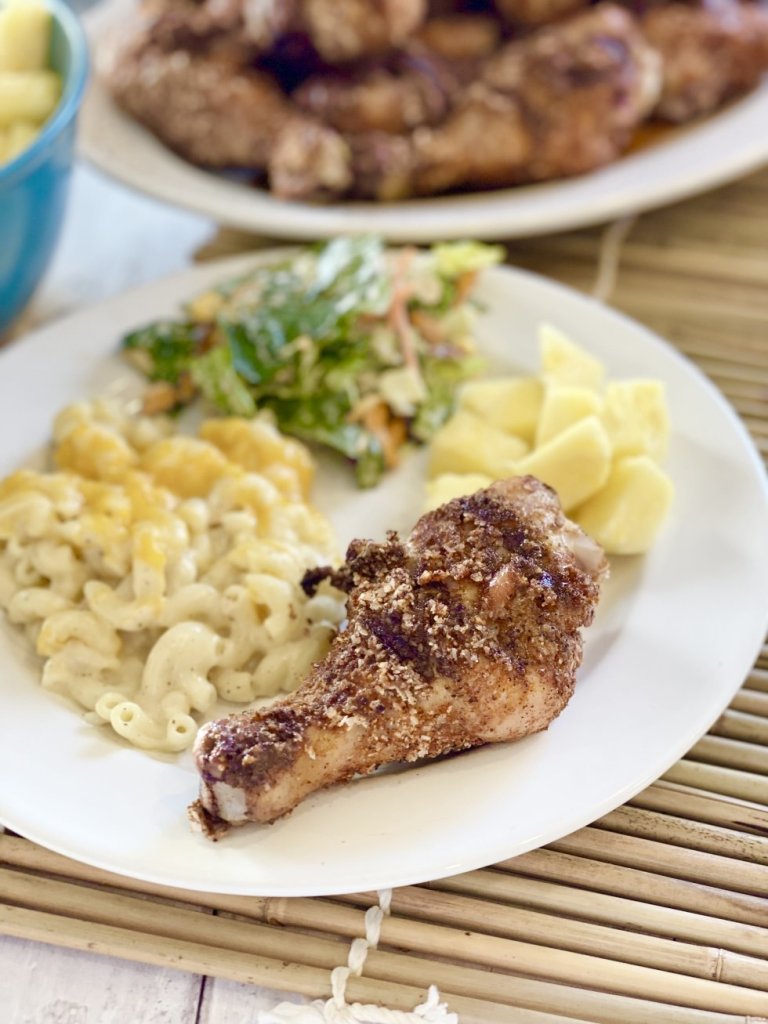
These Grilled Chicken Legs with Dry Rub are a great crowd pleaser and very affordable if you are looking for a budget friendly option for feeding a large group.
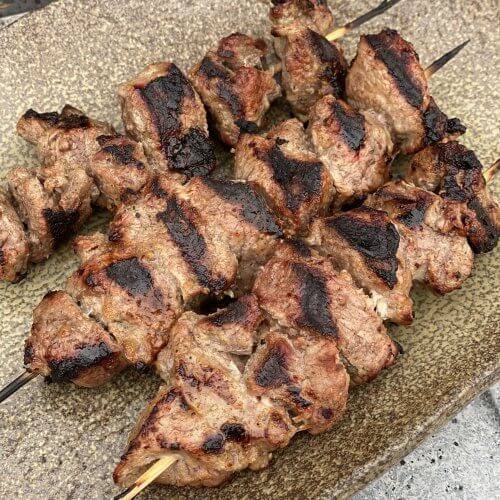
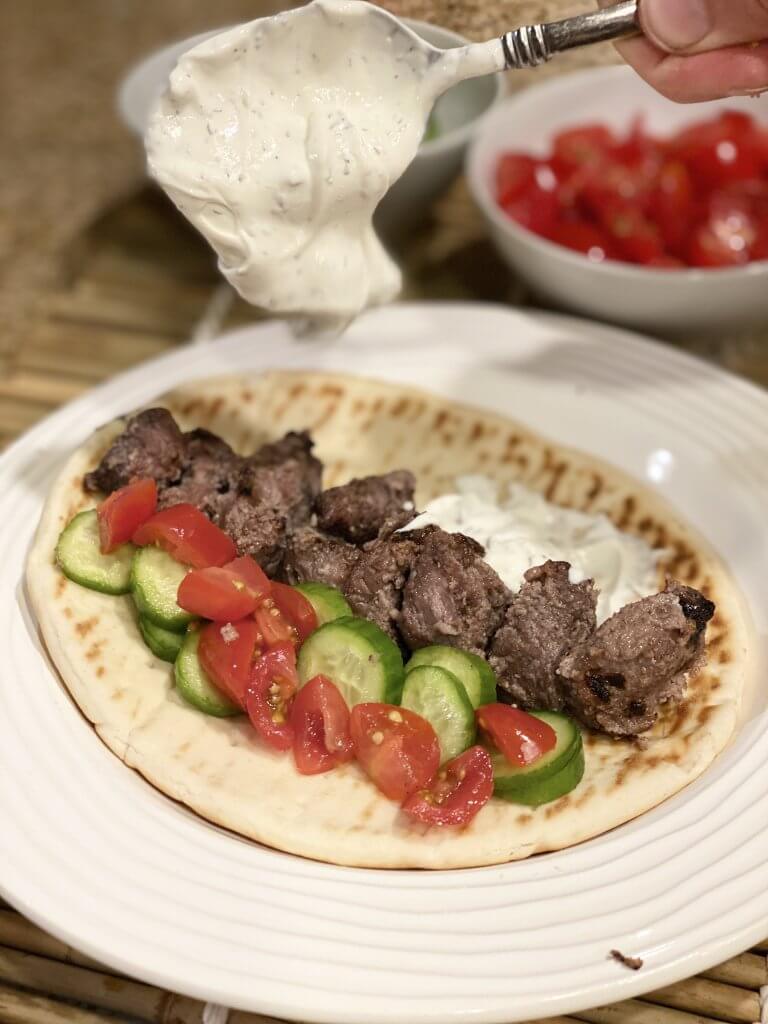
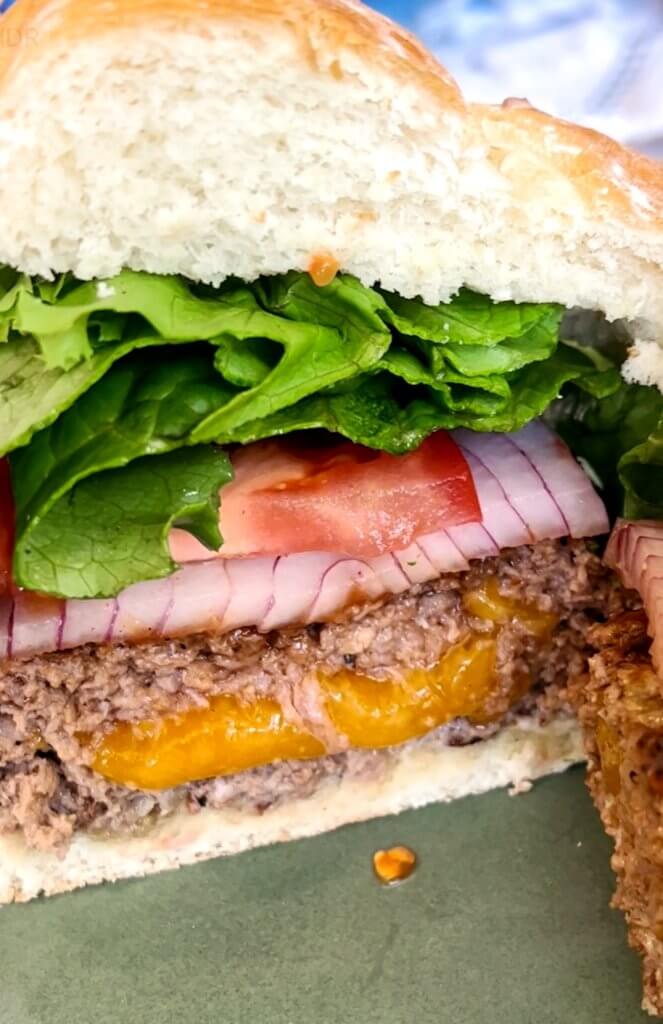
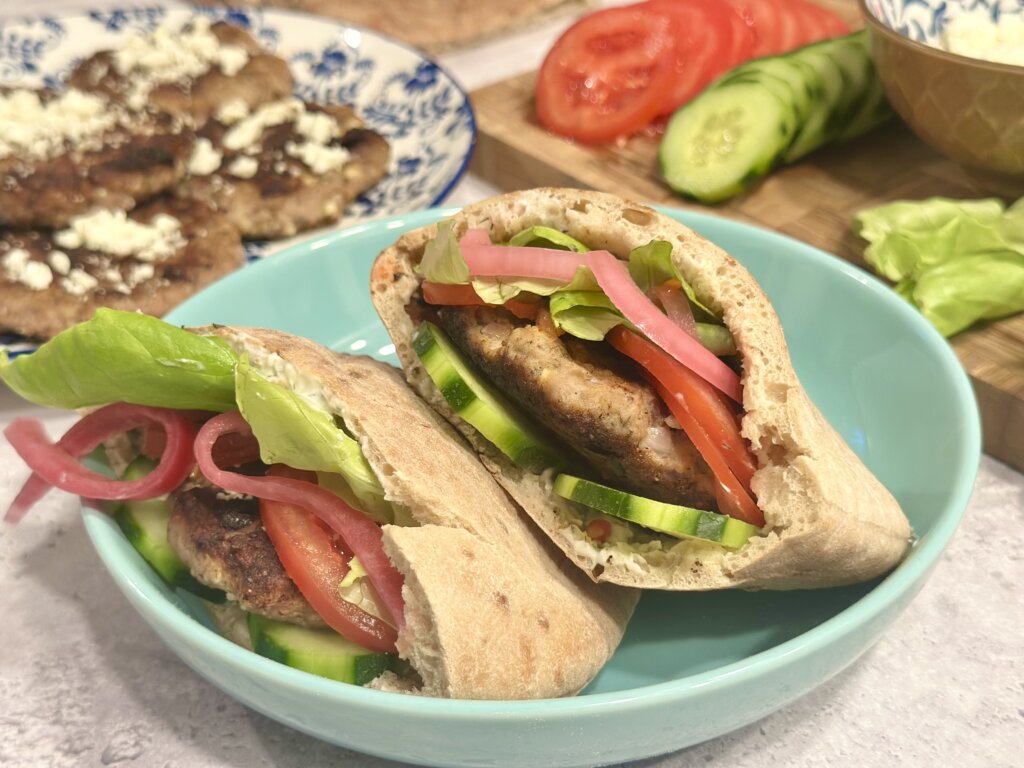
For something different and delicious, we love Lamb Kebabs that you can use for gyros or bowls. If you are not a lamb person, than try this with beef.
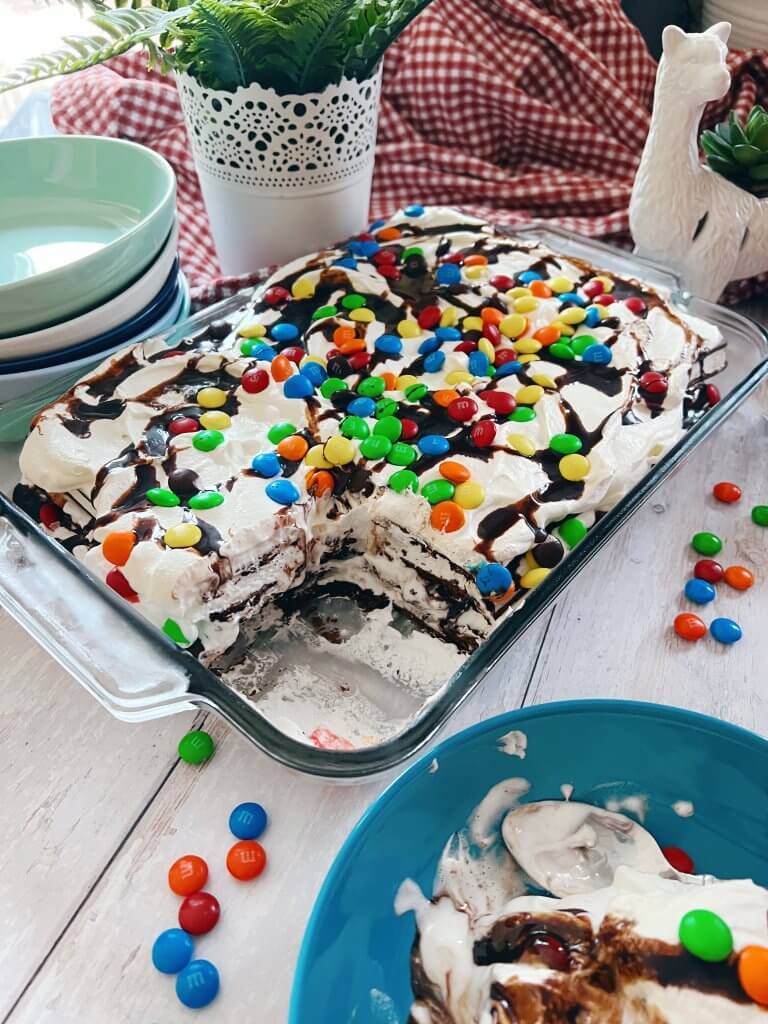
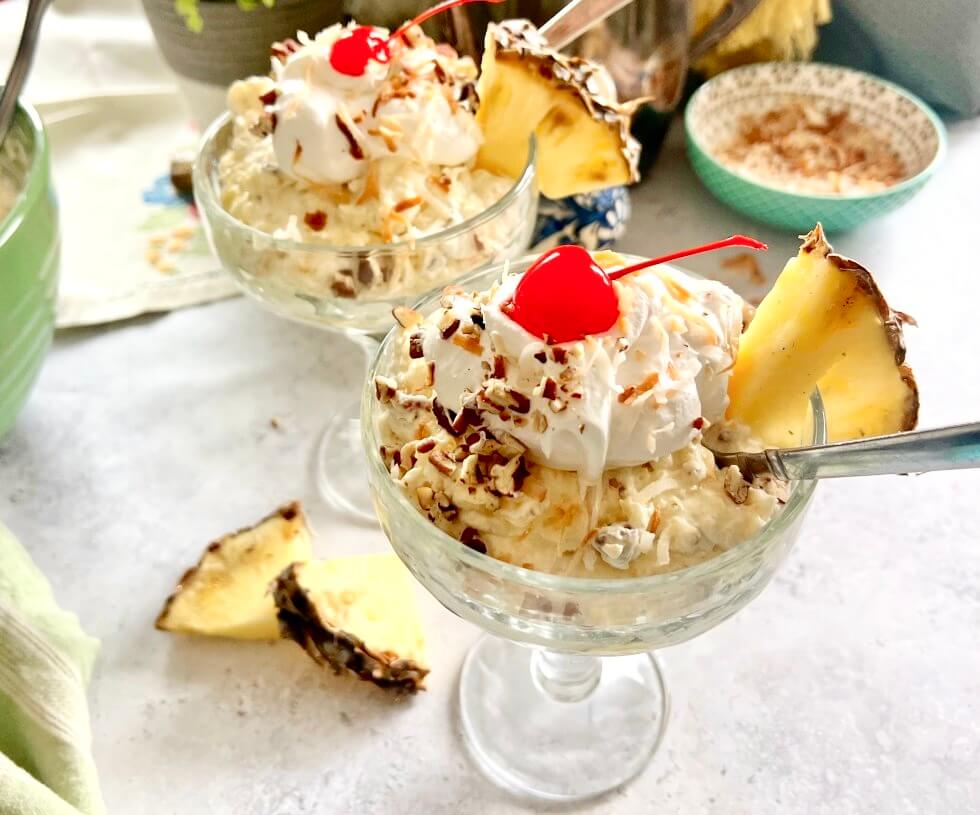
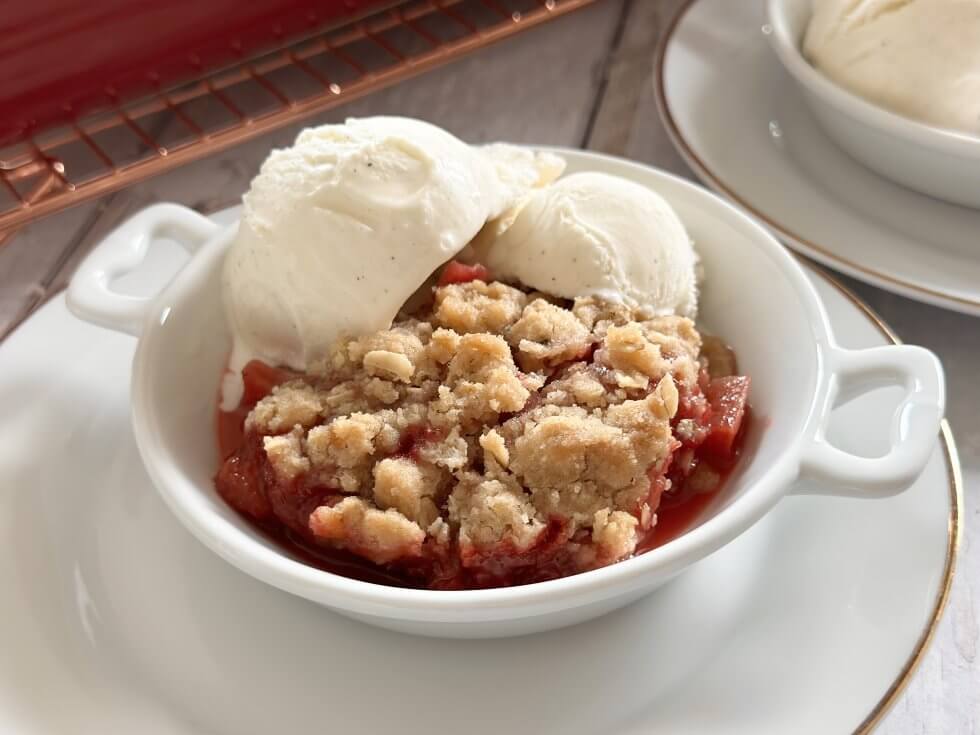
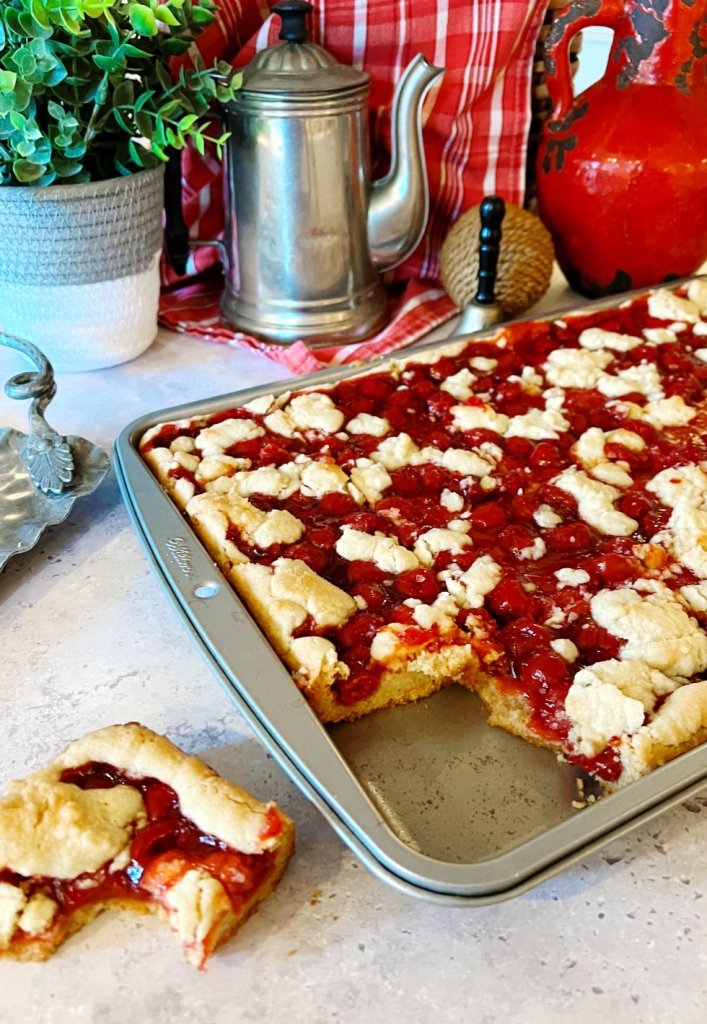
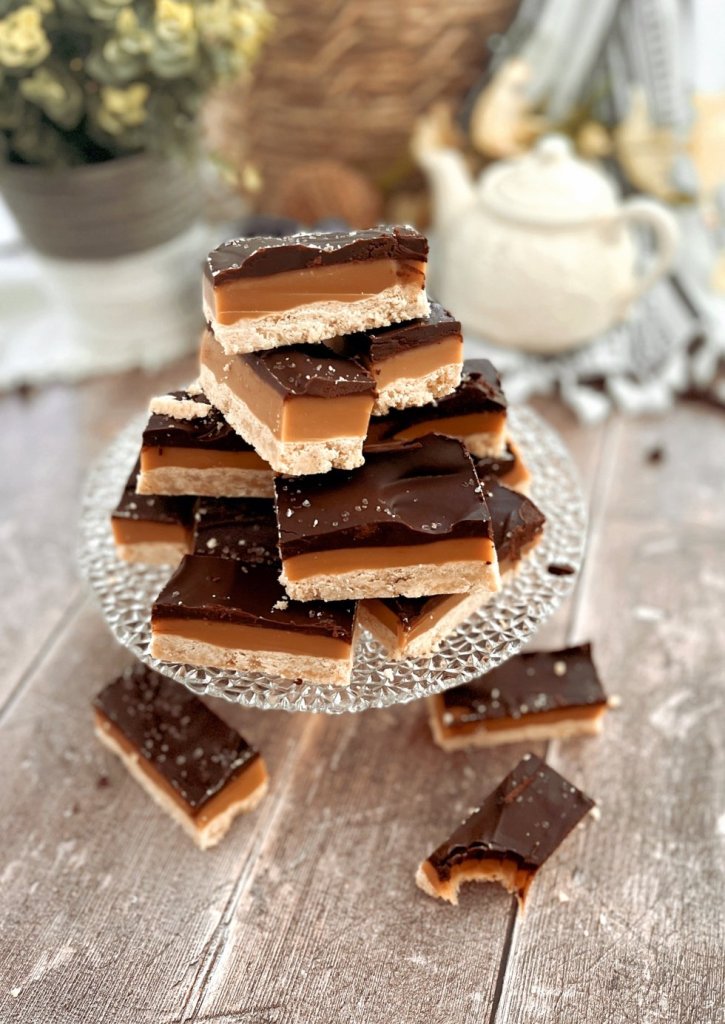
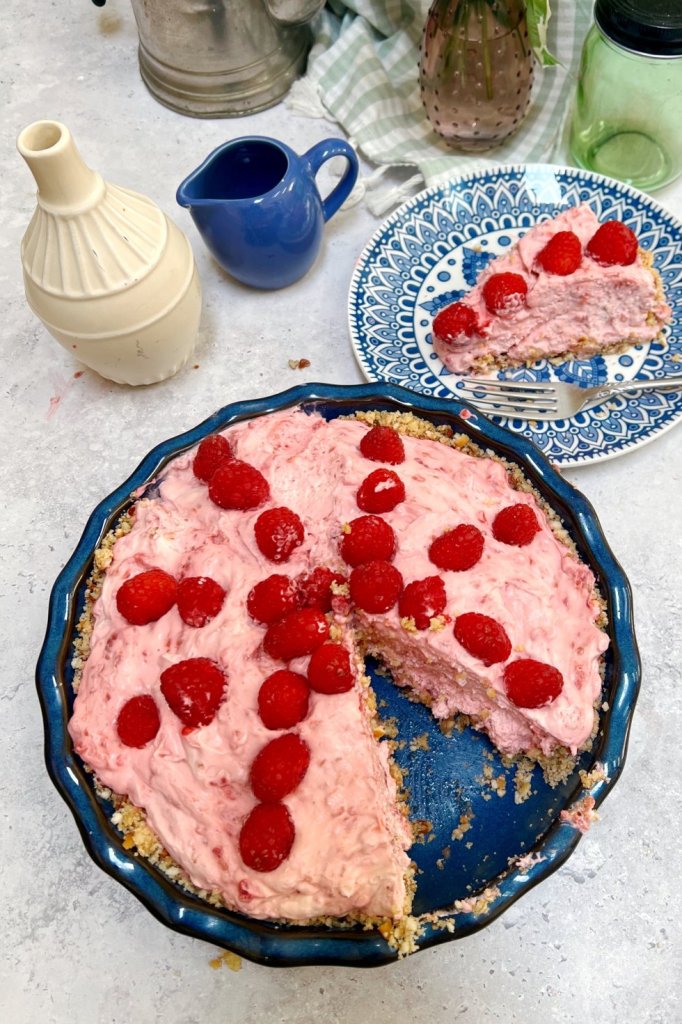
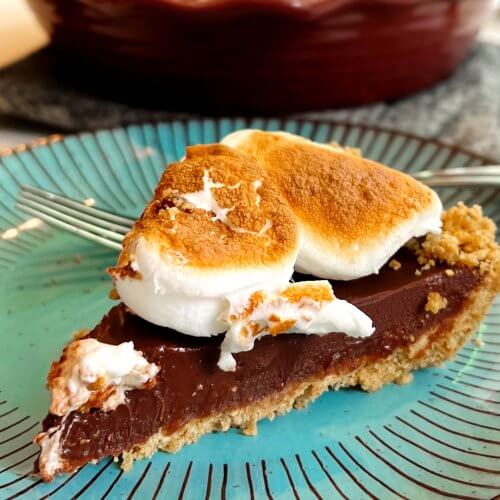
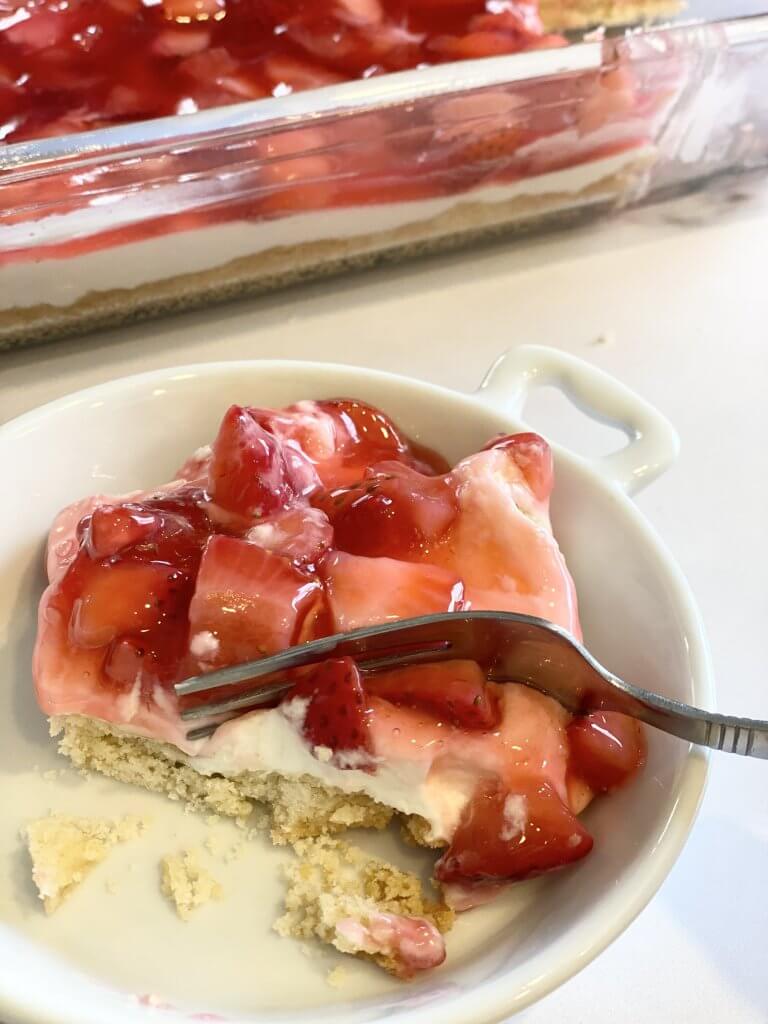
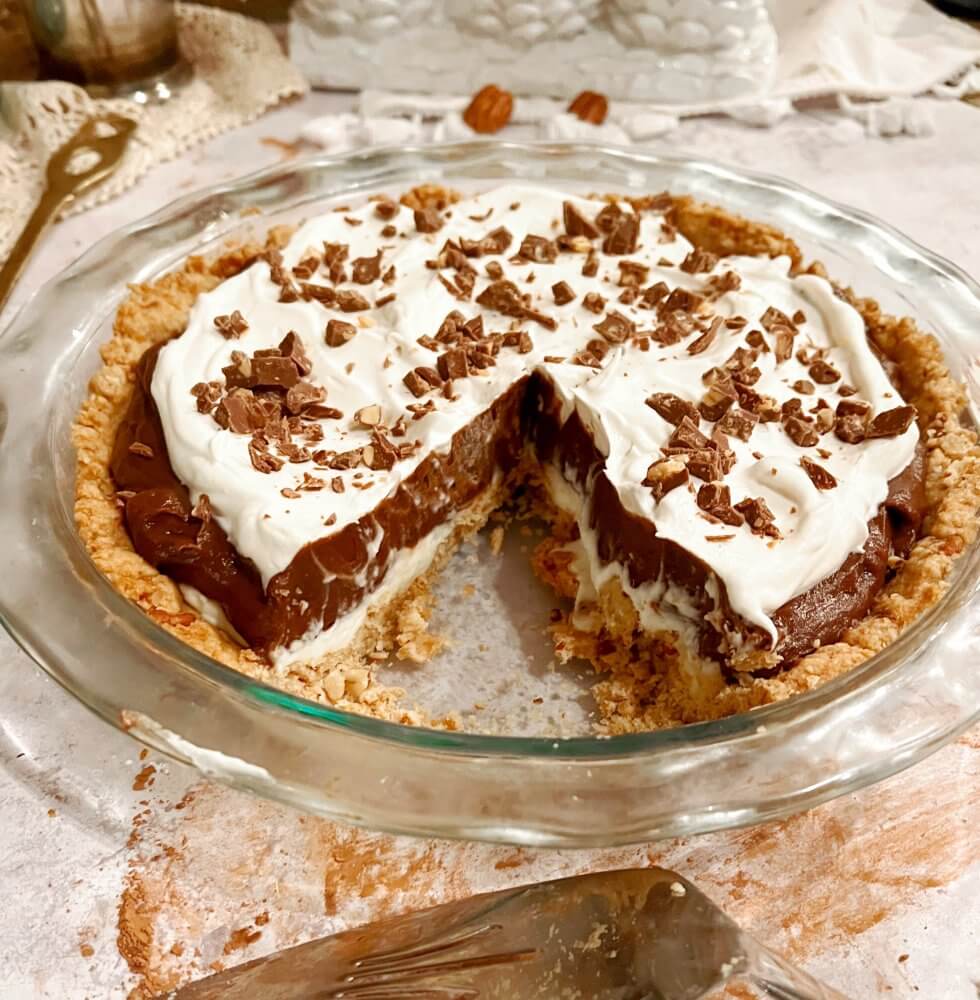
And now for a sweet treat or two because every cookout needs to end with a sweet bite. Click on the picture or the link below to go straight to the recipe.
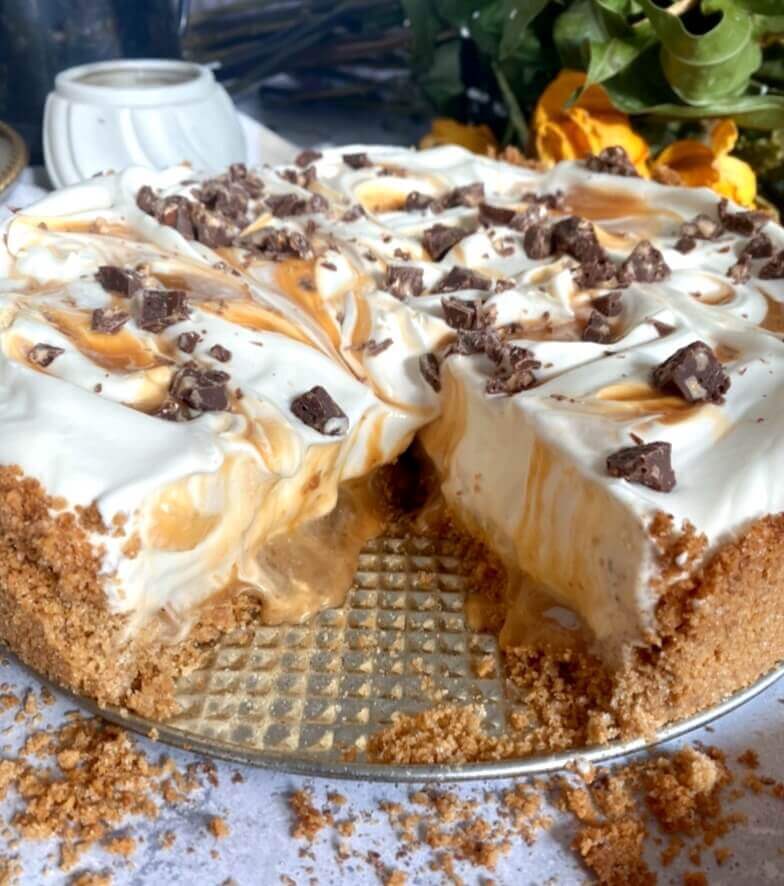
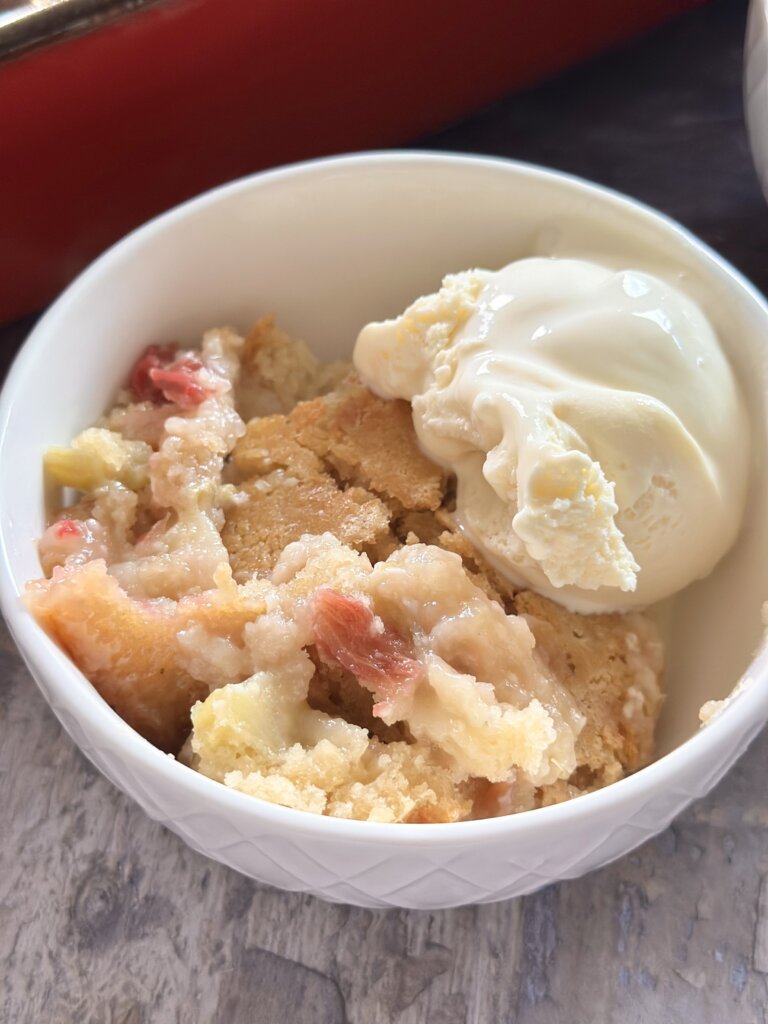
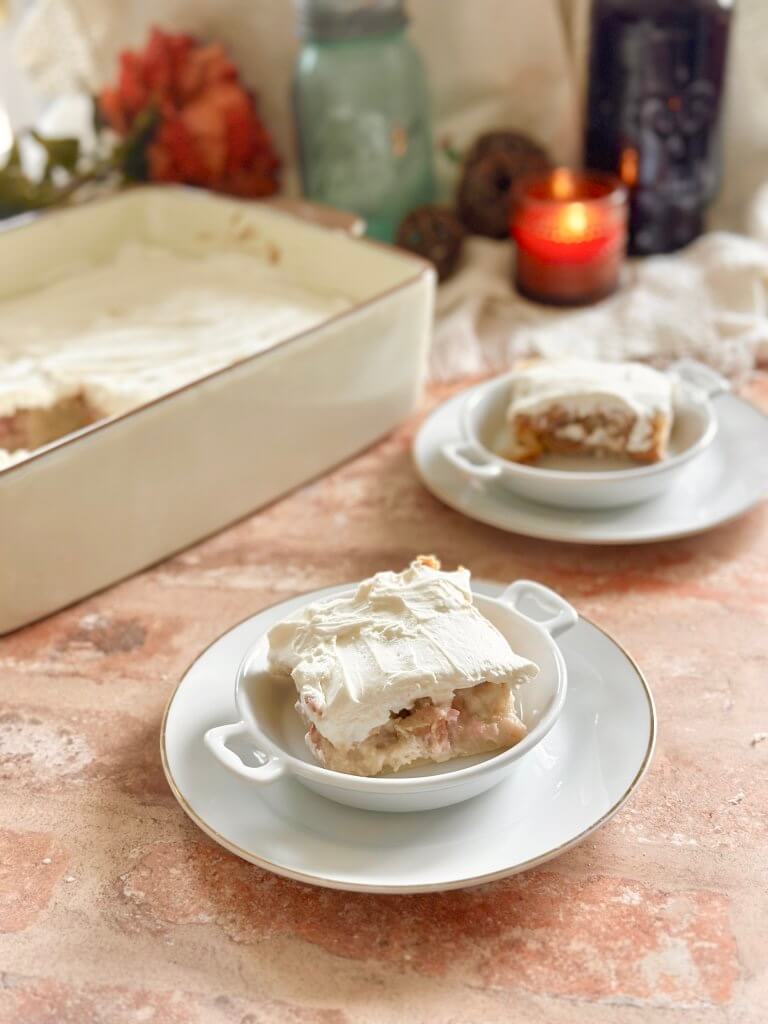
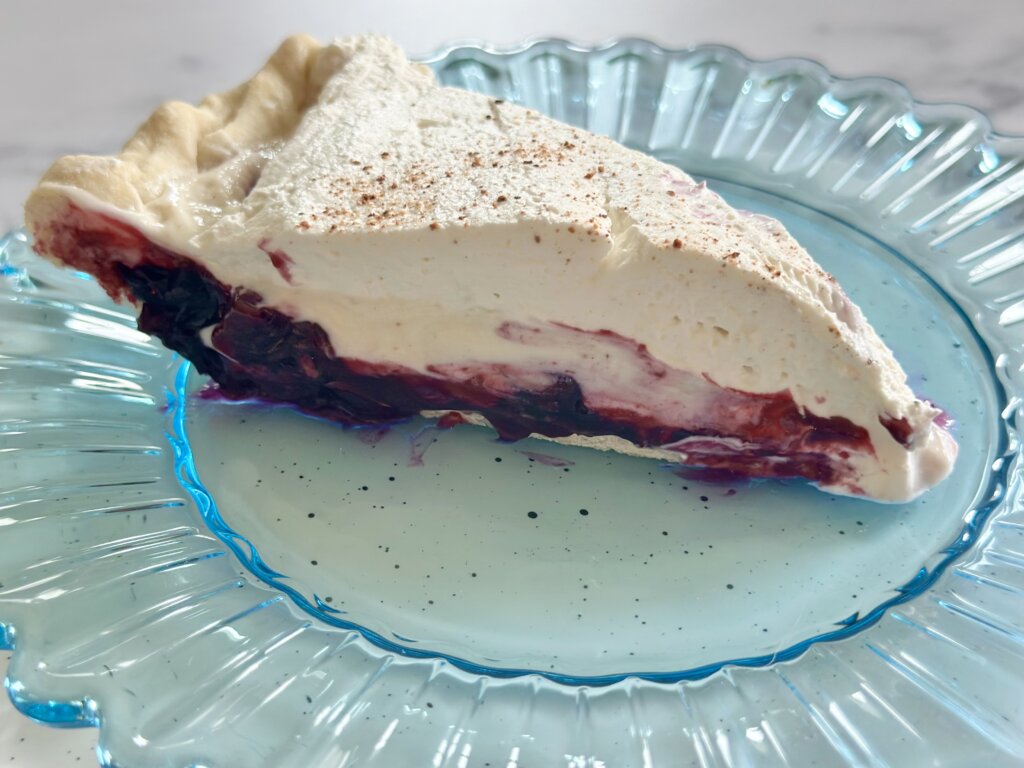
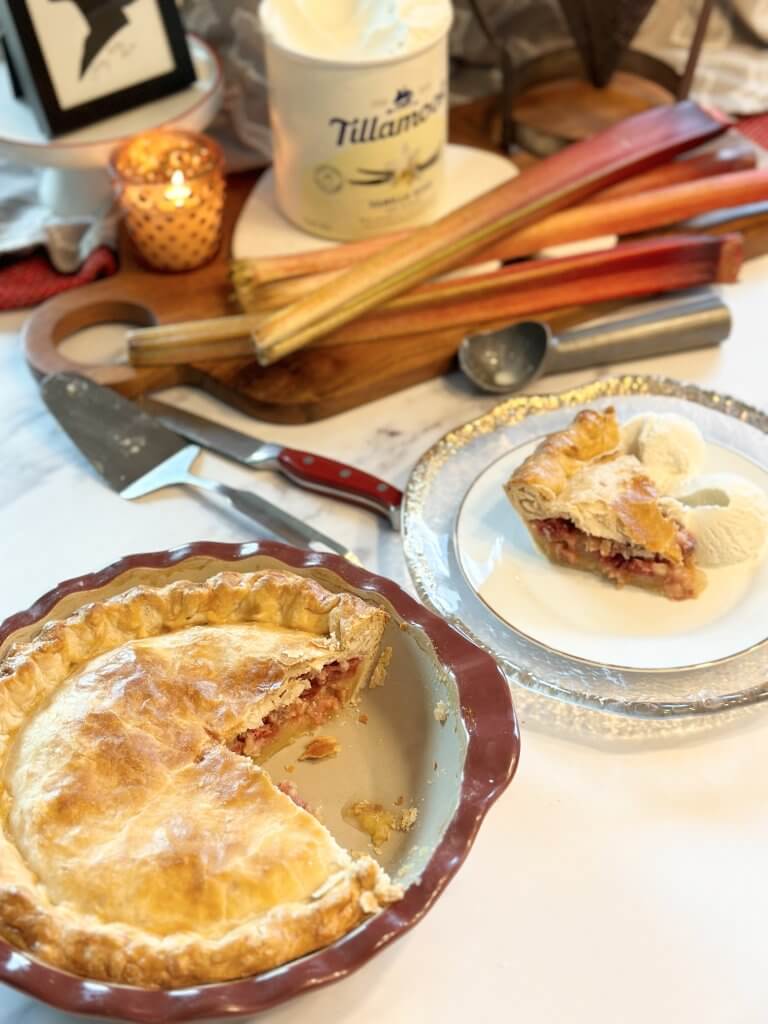
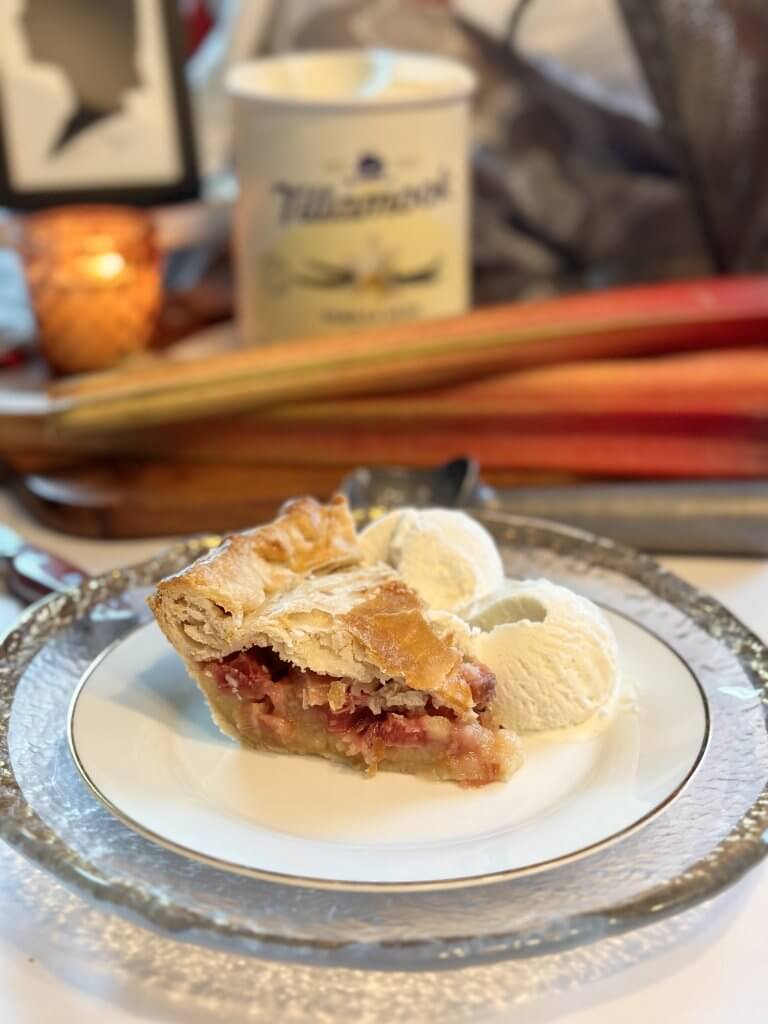
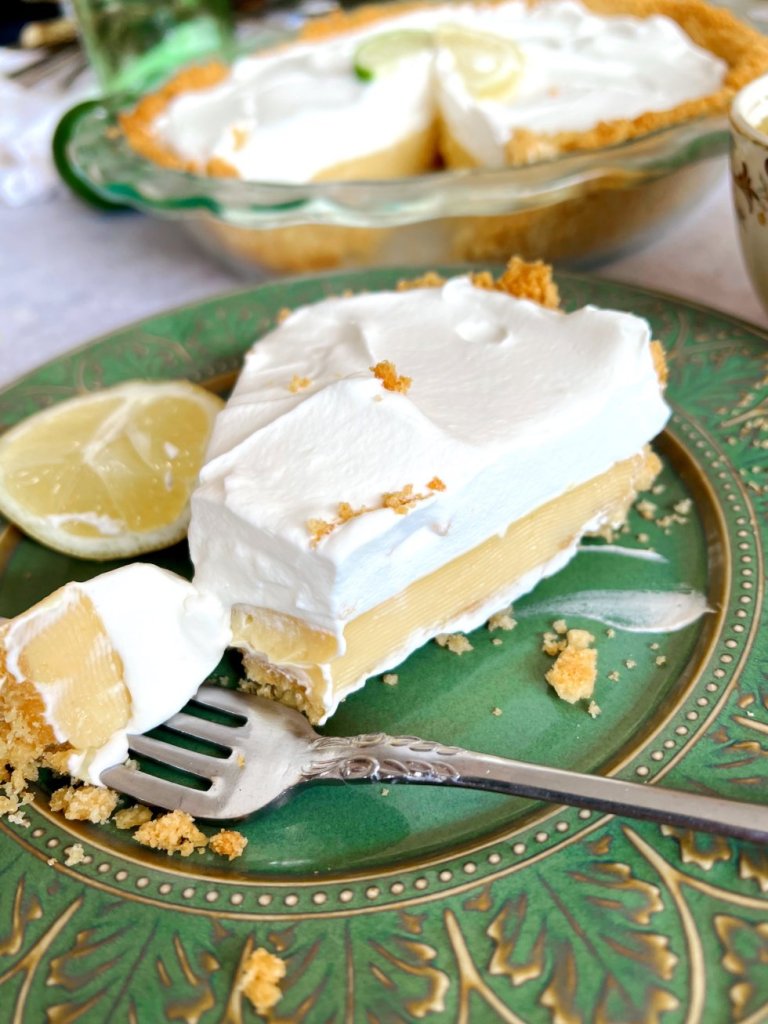
My Grandma’s famous Rhubarb Custard Pie is the favorite of many. I made to take to my mom’s for a cookout a couple years ago when her brother was visiting. He was THRILLED when I showed up with his mom’s pie, which he says is his favorite.


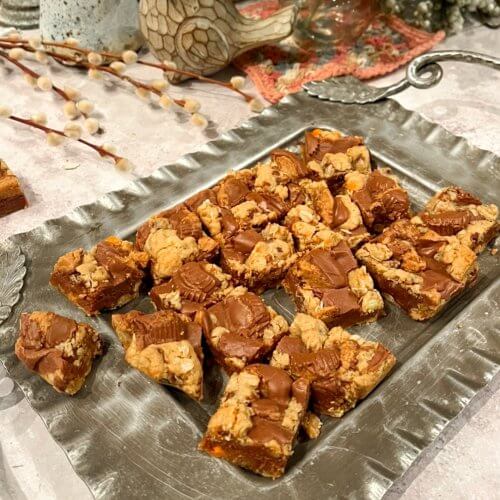
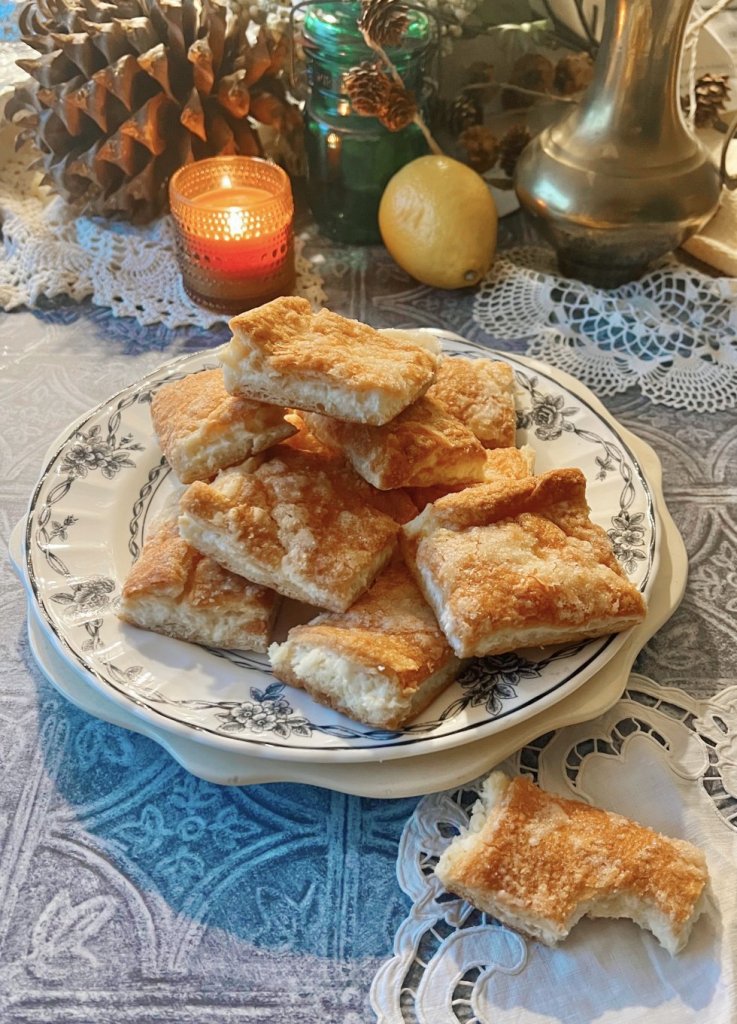

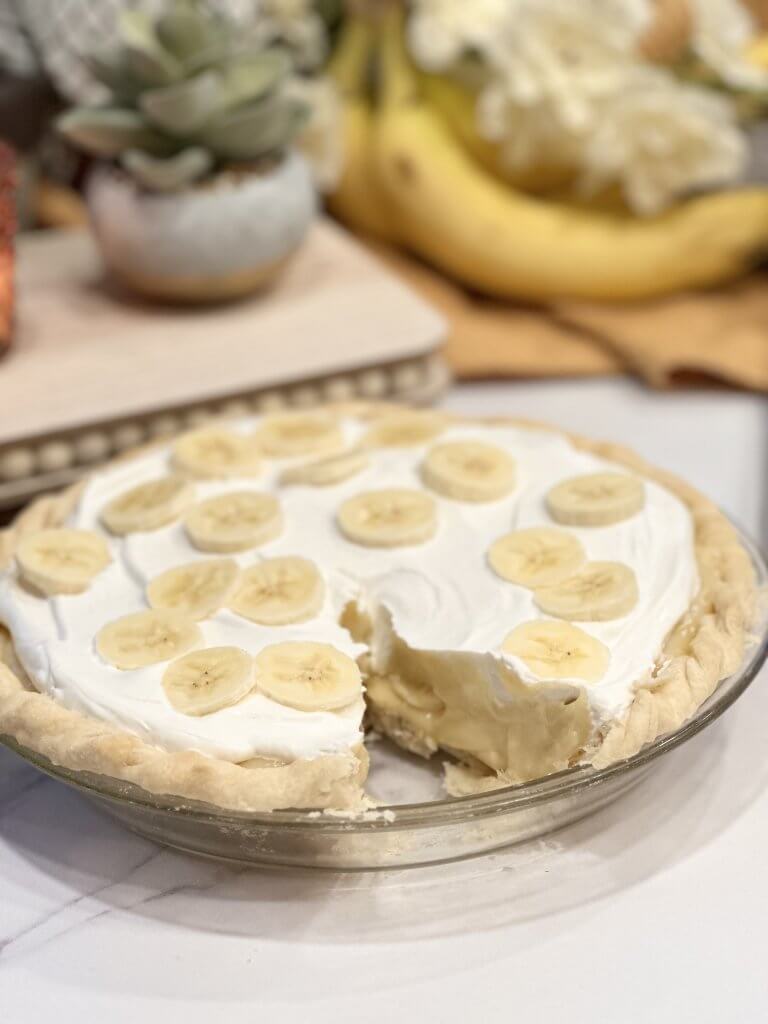
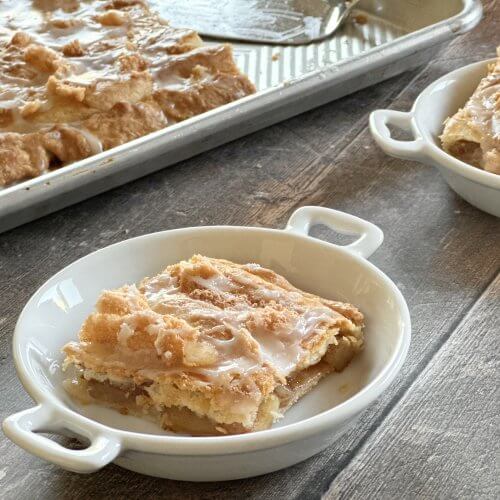
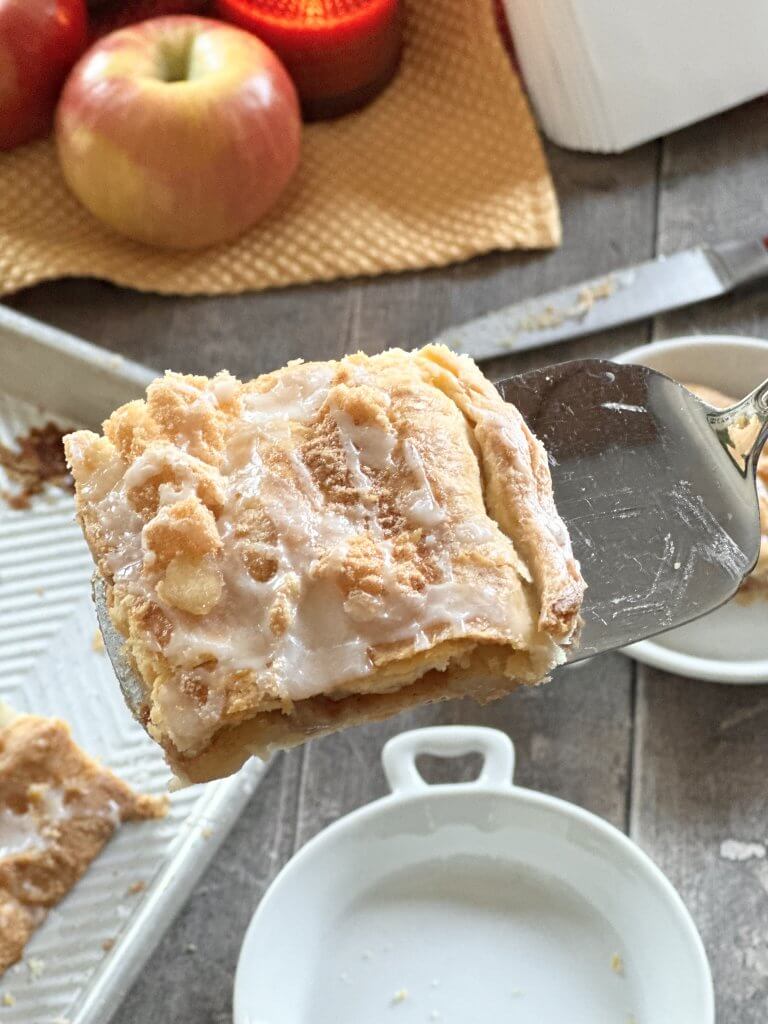
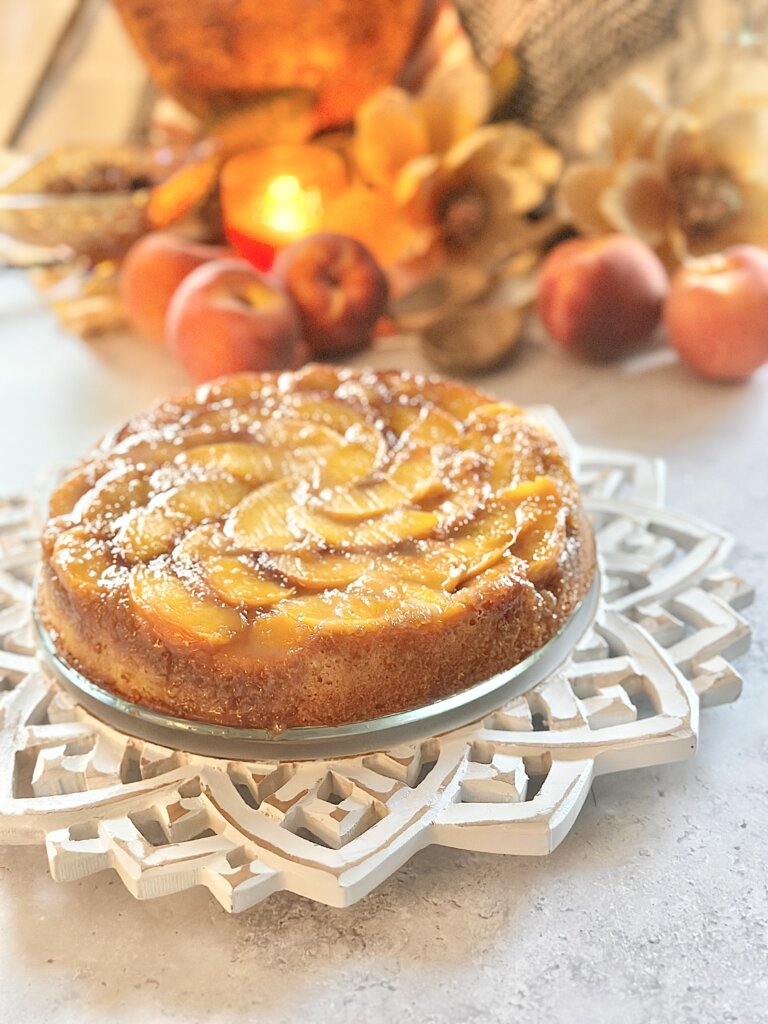
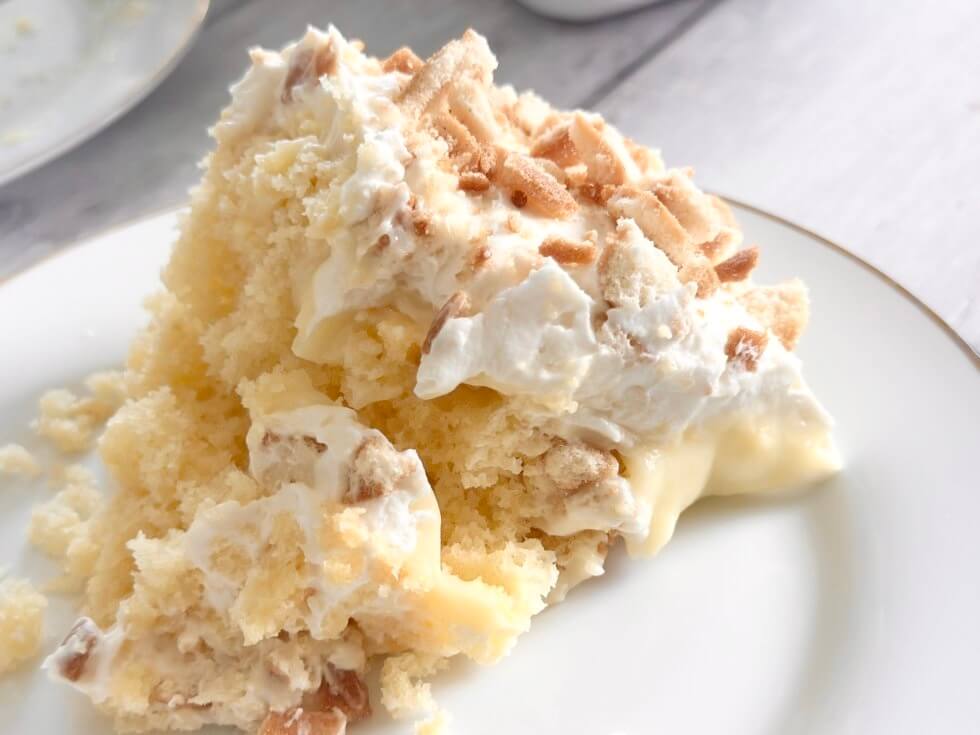
My husband was lucky enough to grow up with these Apple Pie Slices that his mom made. They are great in the autumn, but I prefer them to pie in the summer. They are flakier and lighter and feed a crowd.


Comment below and let us know which dishes you will be trying out this summer!
If you want JUST a collection NO BAKE Desserts, check it out here – No Bake Summer Desserts
Dirt Babies
Scroll down to the bottom for printable instructions!
We are from the Pacific Northwest. I think my older kids consider themselves to be Oregonians more than they do Coloradans. My oldest 3 feel that their childhoods were spent in the PNW rambling through forests, picking wild blackberries, heading to the coast whenever we wanted, driving along the Columbia River on our way to Costco with constant views of Mt. Hood, Mt. St. Helens, and Mt. Ranier.
One of our favorite traditions was attending the Oregon Agricultural Festival every April at the Oregon State Fair Grounds in Salem. We looked forward to Ag Fest every year! Good food! Farm animals with 4H on show! Many activities that were educational and fun!
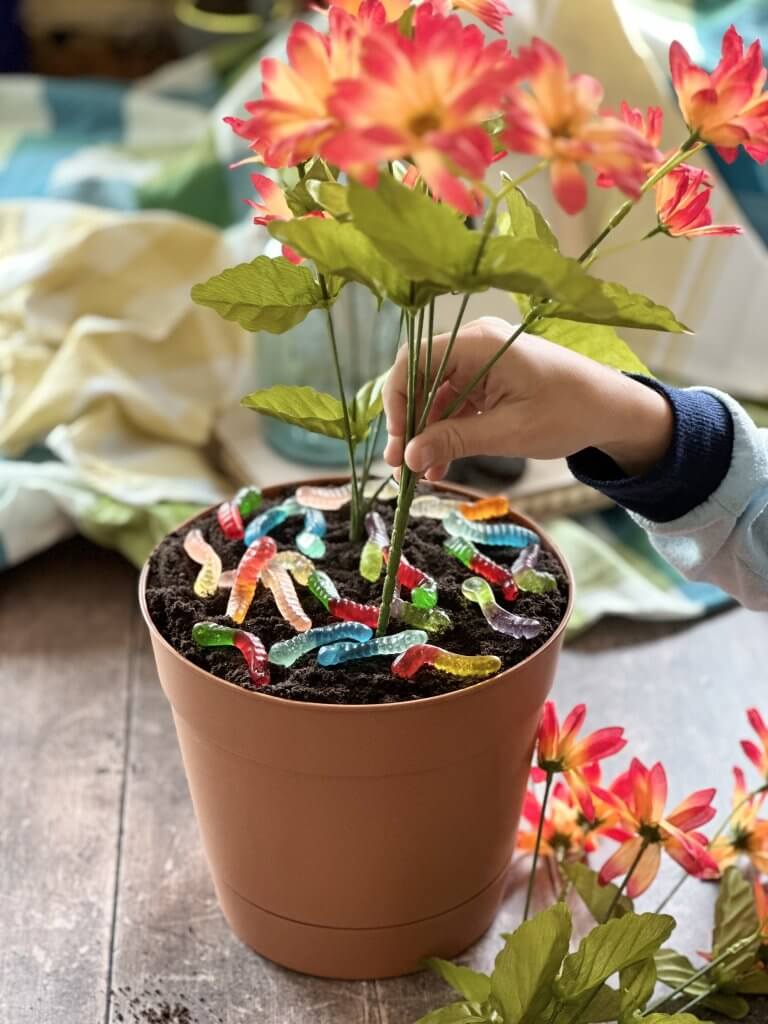
Our favorite MUST DO every year was Dirt Babies! We LOVED the Dirt Baby booth. They were free to make and fun to bring home and leave on the kitchen window sill all summer long.
We recently made them together at a family gathering will the grandkids and cousins together. May is a GREAT time to make a dirt baby.
For the project you will need –
- Scissors
- Nude nylon knee highs
- Grass seed
- Planting soil
- Pipe cleaners
- Googly eyes
- Glue gun
- Glue sticks – Make sure they are the right size for your glue gun.
- A cup for them to sit in – My favorite cups to have on hand. The perfect size for kids especially.

Put some grass seed in the nylon. Then 2-3 cups of soil. Work it down between each scoop and form into a tight ball. Then tie a knot right up against the soil to hold its shape. Trim the tail to 2-3 inches long.
Next, choose some eyes and pipe cleaners out. Make a plan for the face. Use scissors to cut the pipe cleaners down to size as needed.

Now fill a cup with water about halfway, high enough for the nylon tail to reach it. Then sit the dirt baby on top of the cup with the tail in the water. Set it on a window sill and start checking for sprouts of grass/hair every day.


Throughout the summer make sure they have water, and trim their hair as needed.


Dirt Babies
Equipment
- Nude Knee High nylons
- googly eyes
- pipe cleaners
- glue gun
- glue sticks for glue gun
Ingredients
- grass seed
- soil
Instructions
- Put a couple Tablespoons of grass seed into the bottom of nylon knee high.
- Measure about 3 cups of soil into the knee high on top of the grass seed. This is easier with two people. One to hold and stretch open the nylon and one to measure and dump in the soil. Measure in one cup at a time. Work it down to the bottom before adding another cup.
- Tie a knot in the nylon right up tight against the soil. Trim the tail to a couple inches long.
- Carefully use a hot glue gun to decorate and make face on the front of the baby with the grass seed at the top and the tail at the bottom.
- Choose a cup or glass with a rim more narrow the body of the dirt baby so the baby sits on top of the cup without falling in.
- Fill the cup with water high enough the nylon tail can reach into it. Set the dirt baby on top of the cup with water. Set in the sun on a window sill. Watch and wait for the sprouts to appear within a week.
- Check often to make sure there is water. When the grass grows, trim the tops regularly. My kids love giving their dirt baby a haircut. They will last all Spring and Summer long.
Dance Party
Dancing can make you smarter and happier. So if you have been looking for a reason to dance, here it is.
There have been some pretty amazing studies come out in recent years about this.
Here is a pretty comprehensive one from Harvard:
Dancing and the Brain | Harvard Medical School
My favorite resource is Dr. Peter Lovatt who founded the Dance Psychology Lab. Check him out.

Dr Peter Lovatt – Dance Psychologist – Dr Dance
Here are a couple of things that grabbed my attention.
- THE BRAIN: The positive effects on the brain are nothing short of phenomenal. It decreases the chances of developing dementia and increases memory strength and problem-solving skills. Studies show that regular dance can prevents shrinkage of the hippocampus due to aging and actually causes it to grow!
- CREATIVITY: Divergent thinking capabilities increase significantly.
- MENTAL ILLNESS: Dancing produces measurable improvement for Depression and Anxiety Disorders.
- NEUROLOGICAL DISEASES: Dance Therapy is now regularly used in the treatment of Parkinson’s Disease and has produced amazing results.
So there you go. Look him up, read his book or watch one of his Ted Talks. And get your family to start dancing!
We had a Christmas Garage Dance Party and it made for one of the best family parties EVER.
Here’s what to do:
- Push everything to the sides of the garage and throw up lights everywhere. *Choose the person who has the least stuff in their garage.
- Make a playlist of dance music. We included fun Christmas songs but also a lot of Queen. “We Will Rock You” is a must. My daughter created the playlist on her phone and used a portable speaker.
- Set up a food table and tell everyone to bring a goodie to share. Stack up lots of drinks next to the table.
- Tell everyone to wear their favorite Christmas sweater. *Or choose a theme for other times of the year.
Don’t make it too long! An hour is a long time to dance! We did White Elephant after an hour of dancing… but stopping at an hour is good!


We served hot Clam Chowder clam chowder – Most Delicious Life | Sharing Generations of Family and Fun, Seven Layer Dip Seven Layer Dip – Most Delicious Life | Sharing Generations of Family and Fun, Pecan Snowballs Pecan Snowball Cookies – Most Delicious Life | Sharing Generations of Family and Fun and shrimp cocktail among other things.
One important benefit that I didn’t mention above is the JOY you will feel having so much FUN with your family and friends! Dancing together breaks down inhibitions and age barriers.
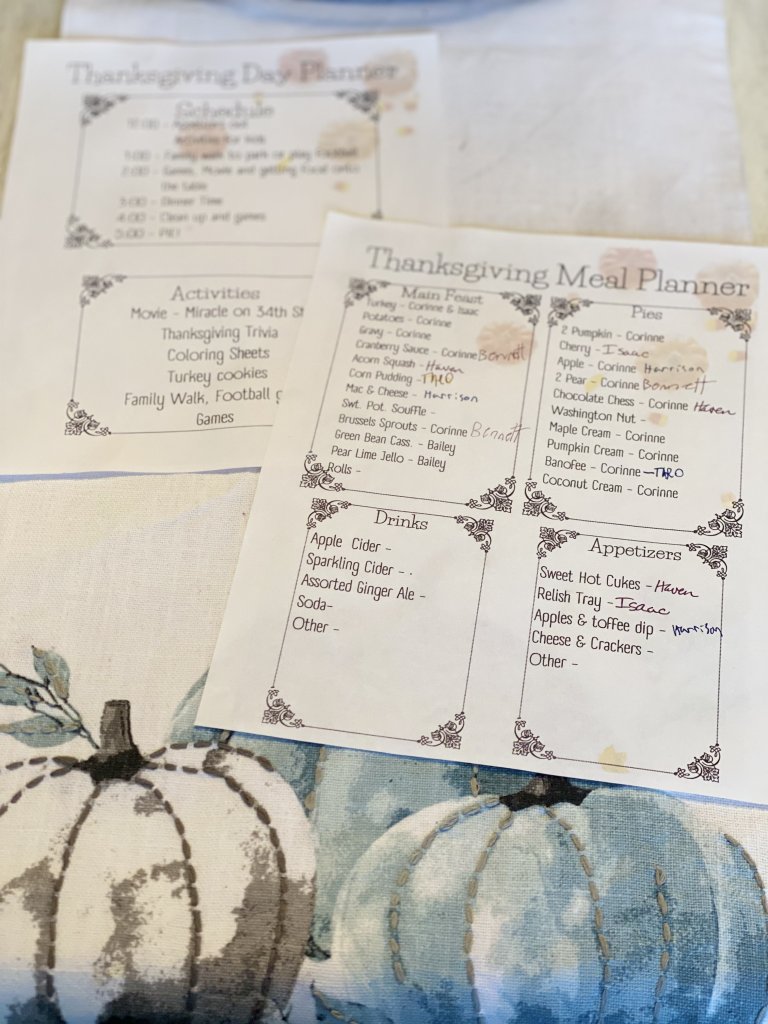
Thanksgiving Meal Planner 2022
Every year since I was little my mom has put together a Thanksgiving menu and sign up. All of us kids would help. I agree with my mom that it is NOT fun, nor does it feel like a holiday, to slave away in the kitchen by yourself for 2 days to prepare for a 20-minute meal! Get the family involved! Work together! Make it Fun! Then it feels like a Holiday, and not just like every other family dinner.

For all the details and for more help check out our post
How to Plan the Perfect Thanksgiving
I have our menu and sign up mostly done for this year. Here it is!
Now you can print one too! Click below on the download, then you can edit and add type. Or just print it blank and use it as a worksheet.
Also check out our post How to make a beautiful Thanksgiving table for more ideas to help with your hostess gig.

After you download the file, you can print as it, then fill it in with a pen, or you can type in the fields before printing. I personally like my kids all writing their own names next to their menu items. I get out different colored pens and have them sign up. It adds more character.


I like to put mine on the fridge so I can refer to it as I am cooking. Whenever I am starting a new menu item, I yell for my helper to come join me. I have reached out to my siblings and daughter who are coming and put their names next to what they are bringing.
I even put older kids and adults in charge of some of the activities. For example, my sister Brooke is fantastic and collection Trivia questions for a fun Thanksgiving Trivia Game. My sister Bailey can bring some fun Thanksgiving coloring sheets with crayons and pencils. My 22-year-old daughter loves helping the little kids make Fruit Loop Necklaces. My 24-year-old son is in charge of the Gratitude Tree. The dads will organize a walk, or football game. Our family all live pretty close to each other for the most part. It really feels special and different when we all chip in like this to make it a fun day.
Comment below! Tell us what your traditions are. Let us know how we can help you plan.
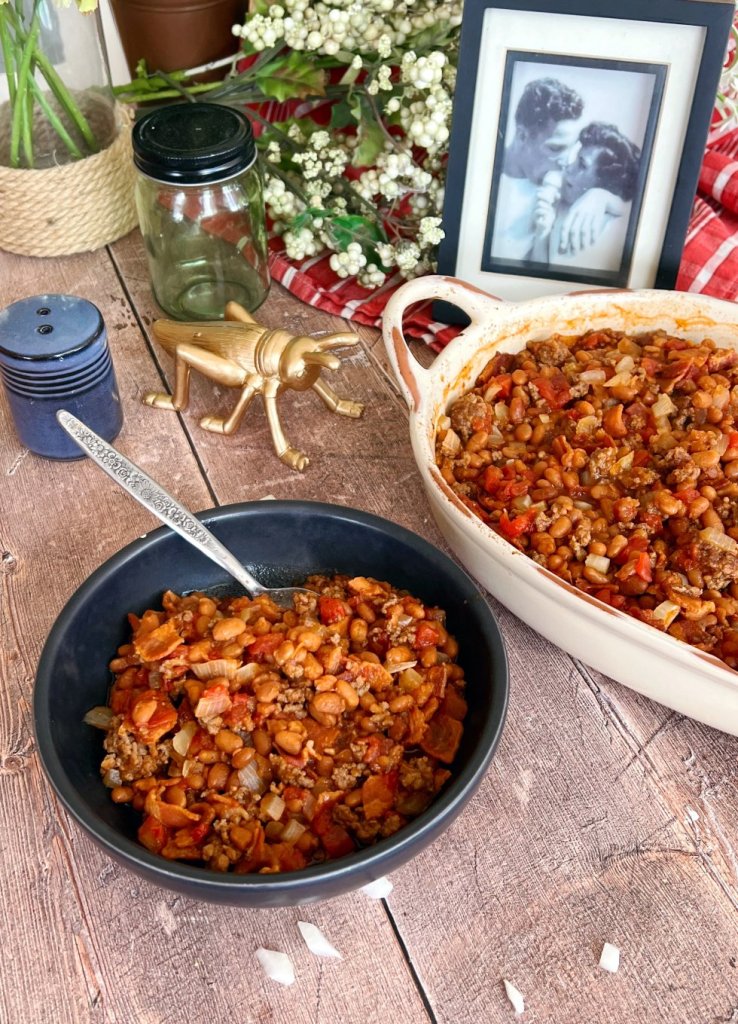
Colleen Mott’s Baked Beans…or The Best Baked Beans Ever!
This dish takes me straight back to childhood summertime. It was a staple at our house for any picnic or BBQ. IT IS JUST SO GOOD.
Our family has lived in 9 different states in this great country and everywhere, everyone wants this recipe. Come springtime I start getting requests. As we plan family events I start hearing, “Are you making baked beans?”
Family traditions show up in food as much as anything else. This dish will forever take me back home to my mom and family. And now it’s a part of MY family’s tradition, for my kids and there kids.
This could totally be labeled as a “dump” recipe…..it is so fast to put together and then just bake and it’s done.
My husband really wants me to tell you that leftover baked beans get better and better every day.


I hope these become a part of your family tradition.

Colleen Mott’s Baked Beans…or The Best Baked Beans EVER!
Ingredients
- 2 30 ounce cans pork & beans
- 1 pound hamburger
- 1 30 ounce can diced tomatoes, undrained
- 1 large onion, chopped
- 1 pound bacon
- 1 cup brown sugar, packed
Instructions
- Preheat oven to 350°.
- Open pork and beans and empty into a colander. Rinse with cold water. Pour into large casserole dish or 9×14" baking dish.
- Brown hamburger, breaking apart as it cooks. Drain off any grease. Add to baking dish.
- Cut the bacon into ¾-1 inch pieces. Cook in a skillet at medium high heat. Stir regularly. Cook until fairly crispy and drain on paper towels. Add to baking dish.
- Add in the can of diced tomatoes, undrained.
- Add in chopped onion and brown sugar. Mix well.
- Bake uncovered for 30 minutes. Stir. Bake another 30 minutes.
Notes
 COLLEEN MOTT APPROVED
Cool Whip Truffles
I am always keen for something fun to do with the kids in the kitchen. Making chocolates is so fun! It seems to only happen during the Christmas holidays, but this is wonderful to make at anytime! Decorate according to the time of year.
These are surprisingly delicious. Like, they melt in your mouth. I have made several different variations of truffle candies, and I like these the best.
Melt 3 1/2 cups of the chocolate chips.


Remove chocolate pieces from freezer and get ready to dip!


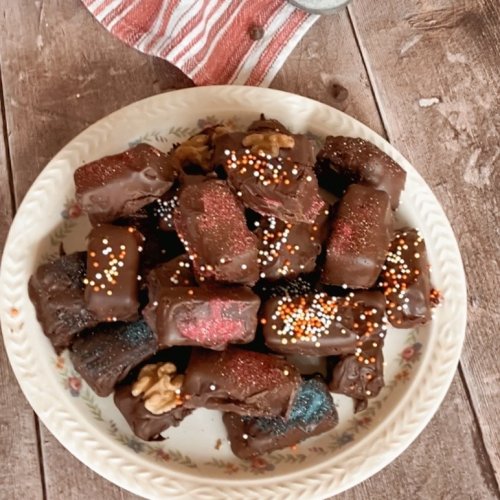
Cool Whip Truffles
Ingredients
- 6 cups chocolate chips **milk chocolate, semi sweet or dark
- 1 8 ounce Cool Whip, thawed **or any frozen whipped topping
- 1½ Tbls shortening
Instructions
- Measure 3½ cups of chocolate chips into microwavable bowl. Microwave in 30 second increments, stirring each time until just melted and smooth. **If desired, add ¼ tsp extract at this time…Mint, almond, peppermint, etc.
- Add in the whipped topping. Use beaters to mix until smooth.
- Pour into an 8×8 inch pan lined with cling wrap. Cover with wax paper, pressing gently on top of chocolate.
- Place in freezer for 30 minutes.
- Remove from freezer and lift out of pan using the cling wrap. On cutting board cut into pieces. If you wish to make into balls, powder hands with baking chocolate and form the pieces into balls.
- Cover with wax paper and freeze for another 30 minutes.
- Place remaining 2½ cups chocolate chips into microwavable bowl. Add in shortening and zap in 30 second increments until melted, stirring as you go.
- Lay out wax paper or parchment. Using forks, dip frozen chocolates into melted chocolate. Decorate with sprinkles as desired.
- Store in refrigerator.
Grass Pots
When winter lingers and you are dreaming of Spring it’s time to take matters into your own hands. Planting seeds and watching them grow is restorative to the soul. It’s the promise of new life. And something every kid should experience.
Here in Colorado the snows keep coming long into Spring and seeing that fresh new grass in the window with the snow outside promises me that Spring is coming!


It’s such a simple project. Choose almost anything to plant your grass in. I used a couple of metal containers and just used a hammer and nail to put a few drainage holes in the bottom.

Buy some potting soil and grass seed and you are ready to go!


Fill pots to the top with potting soil and sprinkle in a generous amount of grass seed.
Spread it out and use your fingers to mix the seed in with the top layer of soil.
Water every day and watch it grow, Grow, GROW!
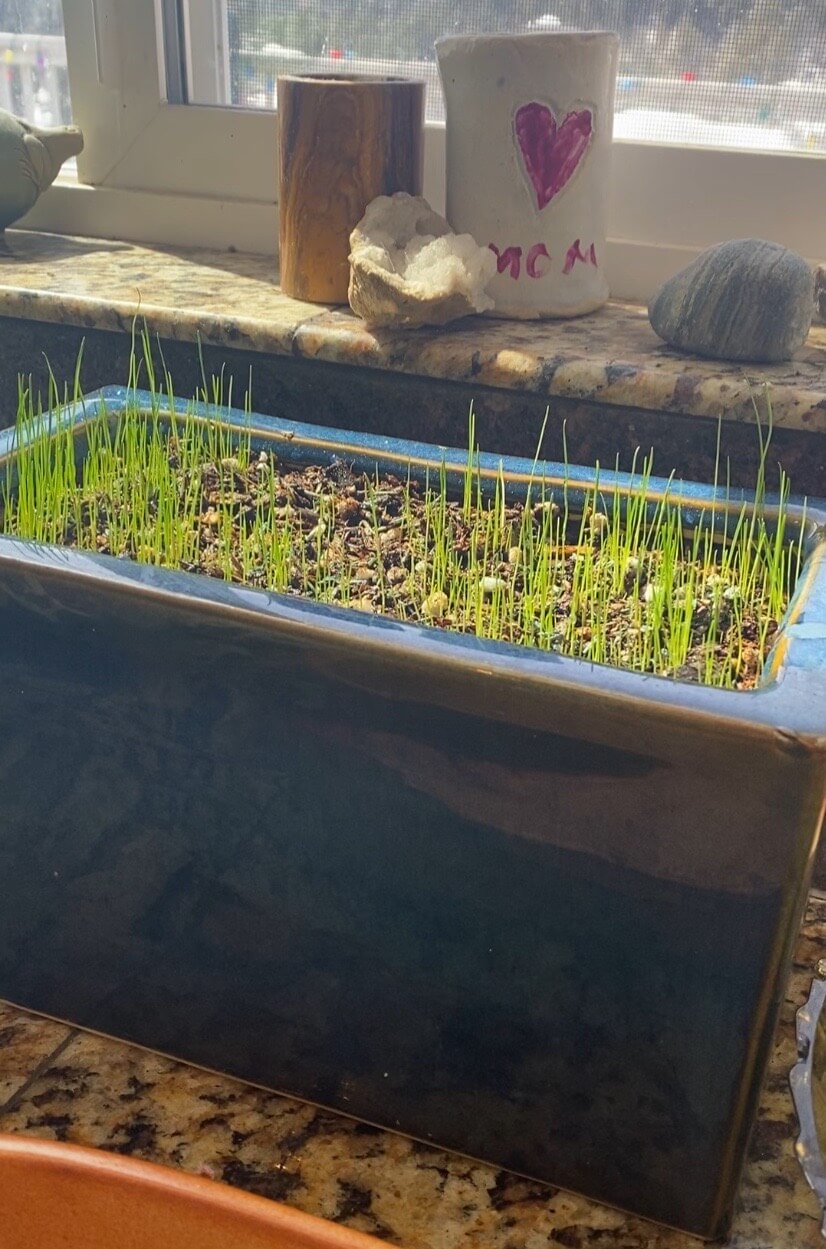


You can plant the grass in baskets if you use a liner, which you can also find at the garden store. It makes for a beautiful Easter basket!
Mexican Polenta Pie
Polenta originated in Northern Italy where it was used in place of pasta. And it is just as delicious. If you haven’t tried it yet, this recipe will convert you.
Polenta is basically a cornmeal mush, which I know does not sound very appetizing but it is really quite delicious. It was originally made from other grains but is generally now made from cornmeal. You can buy a bag of polenta, or just cornmeal. For this recipe buy it in a tube ready to go. You will find it next to the pasta at the grocery store.
Having said all of that you may ask why I am sharing a recipe with a Mexican twist, and I don’t have a good answer. But it works, and it’s delicious. The Mexicans use a lot of corn and cornmeal so it’s a nice crossover.

Slice up one tube and cover the bottom of the pan. You could do the same with ground cornmeal or polenta.
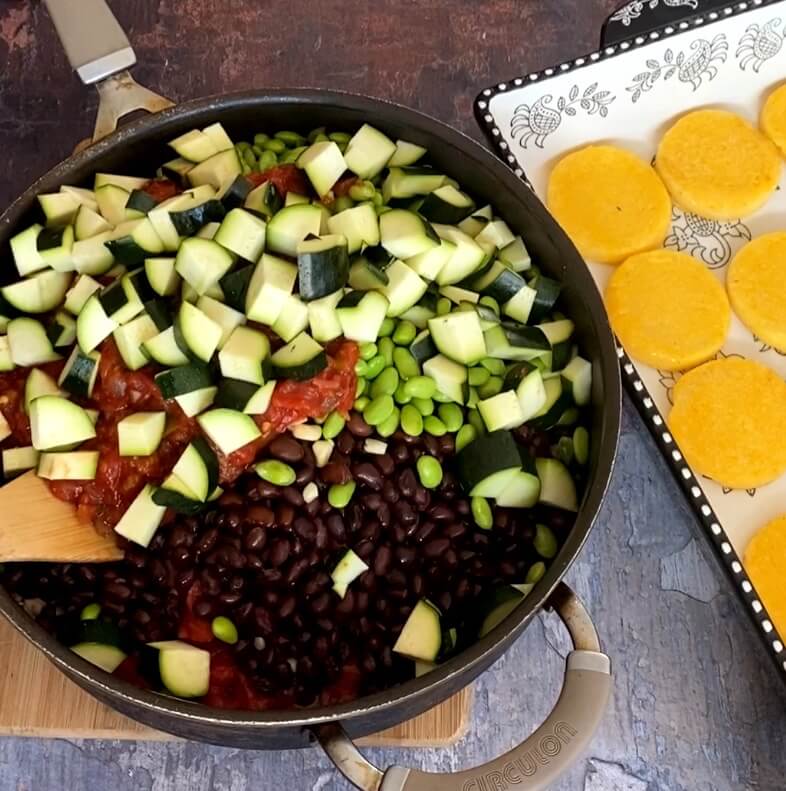
**This could easily become a vegetarian dish by leaving out the ground meat.


So, I should say something about the fact that I sauted the polenta slices before putting the pie together. By doing so the polenta seems less dense.
Bake in a 400 degree oven for 25-30 minutes.
Remove from oven and cover with 2 cups of cheese and cook for 2-3 minutes longer until cheese is melted.


Mexican Polenta Pie
Ingredients
- 1 pound ground turkey
- 1 can black beans, drained and rinsed
- 1 can diced tomatoes
- 1 can corn, drained
- 1 medium zucchini, cut into 1 inch chunks
- 1 cup shelled edamame
- 1 cup chunky salsa
- 2 t chili powder
- 1 t coriander
- 1½ t cumin
- ½ t salt
- 2 tubes polenta **in the pasta aisle
- 2 cups cheese, grated **Mexican blend or cheddar
- 1-2 cups sour cream
- 1 bunch cilantro
Instructions
- Preheat oven to 400°.
- Spray 2½ quart casserole dish with cooking spray. (A 9×13 inch pan will work.)
- Heat large skillet drizzled with olive oil (or cooking spray). Cook and break apart turkey.
- Add in black beans, tomatoes, corn, zucchini, edamame, salsa and spices. Bring to a boil. Turn down heat, cover and simmer for 10 minutes.
- Slice one tube of polenta and cover bottom of baking dish. *If desired fry polenta slices in a hot skillet about 3 minutes per side. Use cooking spray or olive oil.
- Spread the meat and vegetable mixture over polenta.
- Slice remaining tube of polenta spread evenly on top.
- Bake for 25 minutes.
- Cover with cheese and bake 3 minutes longer.
- Serve with sour cream and cilantro.
Kinetic Sand
Here’s the deal. You can go and buy kinetic sand everywhere. And it’s great!
BUT, this is different. The MAKING of it is WONDERFUL.

Let the kids feel the sand. Now feel the corn starch, and how does that feel different?

They LOVE the feel of mixing the cornstarch into the sand. Sawyer says the sand is eating the cornstarch.
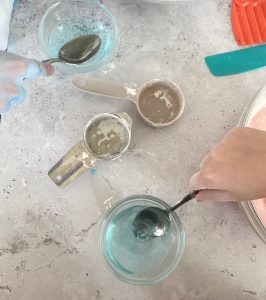
Then they get to mix the dish soap into the water and trying to make bubbles.

Then pour it into the sand
I told them they could use spoons, but NO. They chose to use their hands which is sooo much better.

Add in the oil or liquid corn starch……I originally added 1/4 cup…It DOES change the texture but it you really want it to stick together add the full 1/2 cup.
I have had kinetic sand at my house forever ready for the kids to play. But this was SO MUCH BETTER!

I was delighted how much they LOVED making it.

Kinetic Sand
Materials
- 2 cups colored sand *You can use uncolored sand and add food coloring to the liquid if desired.
- ⅓ cup cornstarch
- ⅓ cup water
- ¾ teaspoon dish soap
- ½ cup vegetable oil OR liquid starch *the end product is about the same
Instructions
- Pour sand into large mixing bowl or bucket.
- Add cornstarch and mix very well, until all the cornstarch is incorporated.
- Measure water into small bowl and stir in dish soap, stirring until it makes bubbles.
- Pour into sand.
- Add the oil or liquid starch.
- Mix well....using hands works best.
- PLAY!!!
Ancestor Wall
It’s really such a simple thing to do….but something so easy to neglect.
Collecting and gathering photos of ancestors is such an important family project.
**Find the family photos
*Who has them?
Do you know how often these end up at thrift stores? Or worse, in the garbage!

These photos are TREASURES!
FIND THEM * ORGANIZE THEM * DIGITALIZE THEM
**Put them on your walls.

It’s really such an easy thing to do. If they are hidden away in albums we don’t see them and get to know them.

It might be fun to trade them out sometimes.
We started a fun family activity a couple of years ago. When grandkids are over we have them each go and take a picture off the wall. Then we talk about their person.
And often discover we need to learn MORE about this person.
Wouldn’t it be an amazing thing to look through your photos and to have your children know who they are?